iOS 튜토리얼 (SwiftUI)
[iOS - SwiftUI] 튜토리얼 2. Stack 사용 방법 (VStack, HStack, Spacer, padding)
jake-kim
2022. 7. 4. 22:45

Stack
- 뷰들을 나열할때 사용
- 뷰 간의 간격 설정에 용이

- Stack 사용 방법
- Preview에서 cmd + 클릭 > Embed in Stack을 사용해도 되지만,
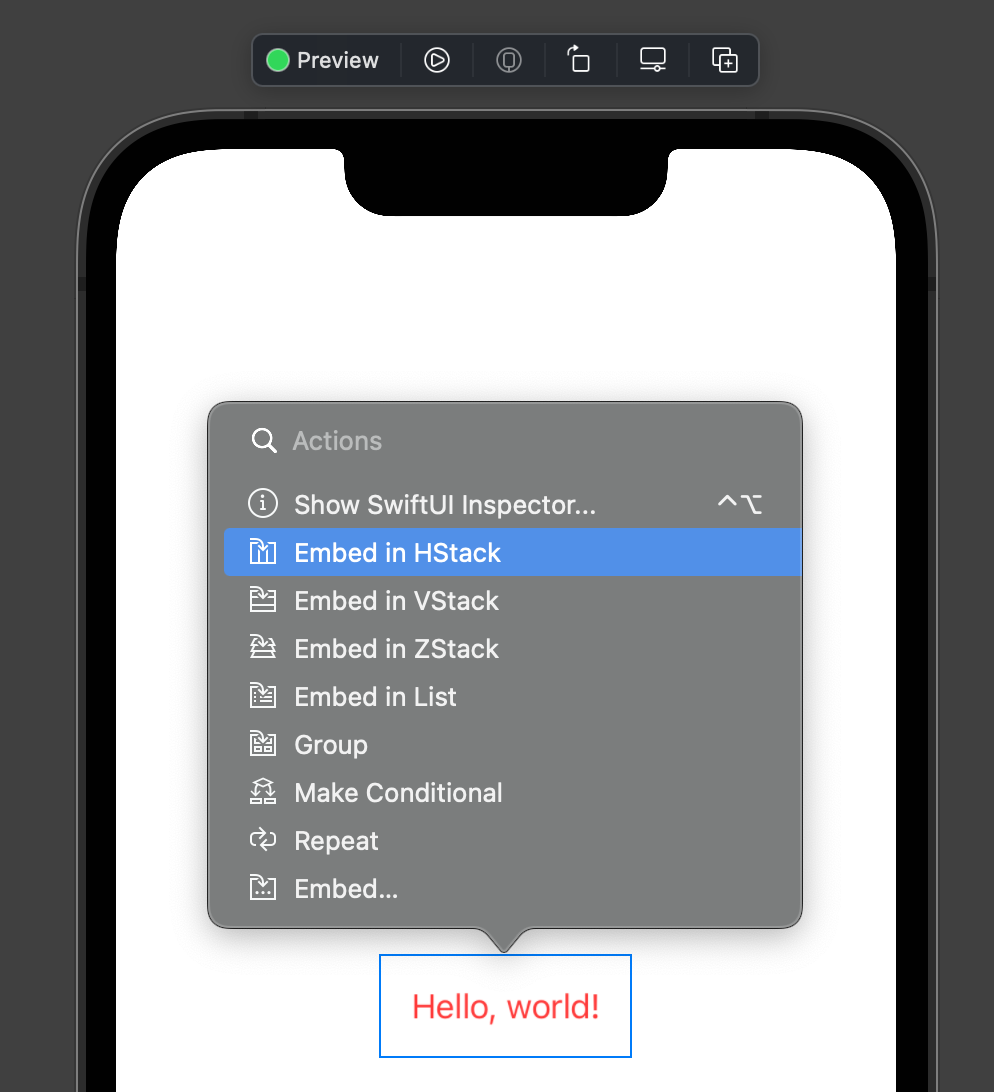
- 코드에서 cmd + 클릭하여 생성도 가능
- 단축키로, cmd + shift + A로 오픈

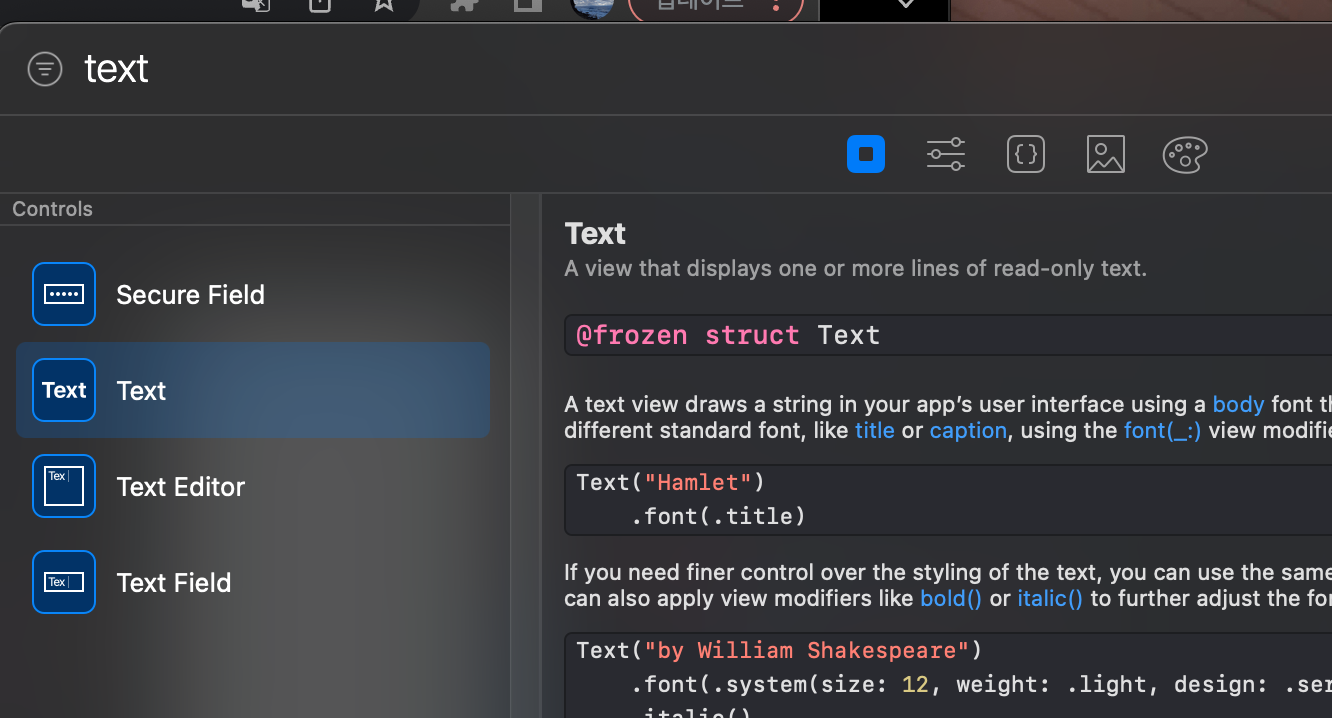
- Text 추가: shift + cmd + L 라이브러리 > Text
struct ContentView: View {
var body: some View {
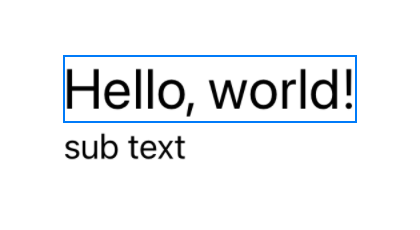
VStack {
Text("Hello, world!")
.font(.title)
Text("sub text")
}
}
}
- VStack의 생성자에서 alignment와 spacing 설정이 가능
struct ContentView: View {
  var body: some View {
    VStack(alignment: .leading, spacing: 1.5) { // <-
      Text("Hello, world!")
        .font(.title)
      Text("sub text")
    }
  }
}
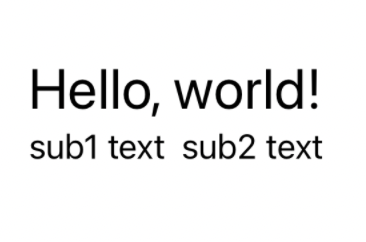
- 안에 HStack도 추가하면,
struct ContentView: View {
  var body: some View {
    VStack(alignment: .leading, spacing: 1.5) {
      Text("Hello, world!")
        .font(.title)
      HStack { // <-
        Text("sub1 text")
        Text("sub2 text")
      }
    }
  }
}
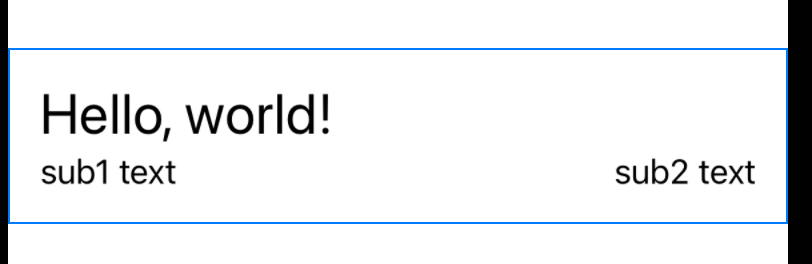
- Spacer를 통해 스택 뷰 안에 공간을 주는것도 가능
struct ContentView: View {
  var body: some View {
    VStack(alignment: .leading, spacing: 1.5) {
      Text("Hello, world!")
        .font(.title)
      HStack {
        Text("sub1 text")
        Spacer() // <-
        Text("sub2 text")
      }
    }
  }
}
- VStack이 왼쪽 오른쪽에 너무 딱 붙어 있으므로, padding을 주고 싶은 경우 padding을 사용

- padding() 사용
struct ContentView: View {
  var body: some View {
    VStack(alignment: .leading, spacing: 1.5) {
      Text("Hello, world!")
        .font(.title)
      HStack {
        Text("sub1 text")
        Spacer()
        Text("sub2 text")
      }
    }
    .padding() // <-
  }
}
cf) 코드 부분을 위, 아래로 이동 단축키
- 위로 이동: cmd + option + [
- 아래로 이동: cmd + option + ]
* 참고
https://developer.apple.com/tutorials/swiftui/creating-and-combining-views