Notice
Recent Posts
Recent Comments
Link
| 일 | 월 | 화 | 수 | 목 | 금 | 토 |
|---|---|---|---|---|---|---|
| 1 | 2 | 3 | 4 | 5 | 6 | 7 |
| 8 | 9 | 10 | 11 | 12 | 13 | 14 |
| 15 | 16 | 17 | 18 | 19 | 20 | 21 |
| 22 | 23 | 24 | 25 | 26 | 27 | 28 |
Tags
- Xcode
- rxswift
- MVVM
- HIG
- UICollectionView
- SWIFT
- swift documentation
- Clean Code
- Observable
- swiftUI
- UITextView
- map
- 스위프트
- Refactoring
- 리펙토링
- clean architecture
- ribs
- Human interface guide
- tableView
- uiscrollview
- ios
- 애니메이션
- uitableview
- scrollview
- collectionview
- RxCocoa
- combine
- 클린 코드
- 리팩토링
- Protocol
Archives
- Today
- Total
김종권의 iOS 앱 개발 알아가기
[iOS - swift] 카메라 사용 방법, 카메라 권한 요청 (UIImagePickerController, AVCaptureDevice) 본문
iOS 응용 (swift)
[iOS - swift] 카메라 사용 방법, 카메라 권한 요청 (UIImagePickerController, AVCaptureDevice)
jake-kim 2022. 7. 1. 02:05
카메라 사용 구현 아이디어
- 카메라 권한 요청
- 거부한 상태라면 setting화면으로 이동하는 alert 오픈
AVCaptureDevice.requestAccess(for: .video) { ... }- 카메라를 여는 가장 단순한 방법인 UIimagePickerController를 present
- 사진을 찍었을 때 사진 찍은것을 확인할 수 있는 방법인, delegate를 사용
pickerController.delegate = self

extension ViewController: UINavigationControllerDelegate, UIImgePickerControllerDelegate {
  func imagePickerController(_:didFinishPickingMediaWithInfo:) { ... }
}
구현
- 카메라 권한에 사용되는 AVFoundation 프레임워크 임포트
import UIKit
import AVFoundation

class ViewController: UIViewController {

}- UI 준비
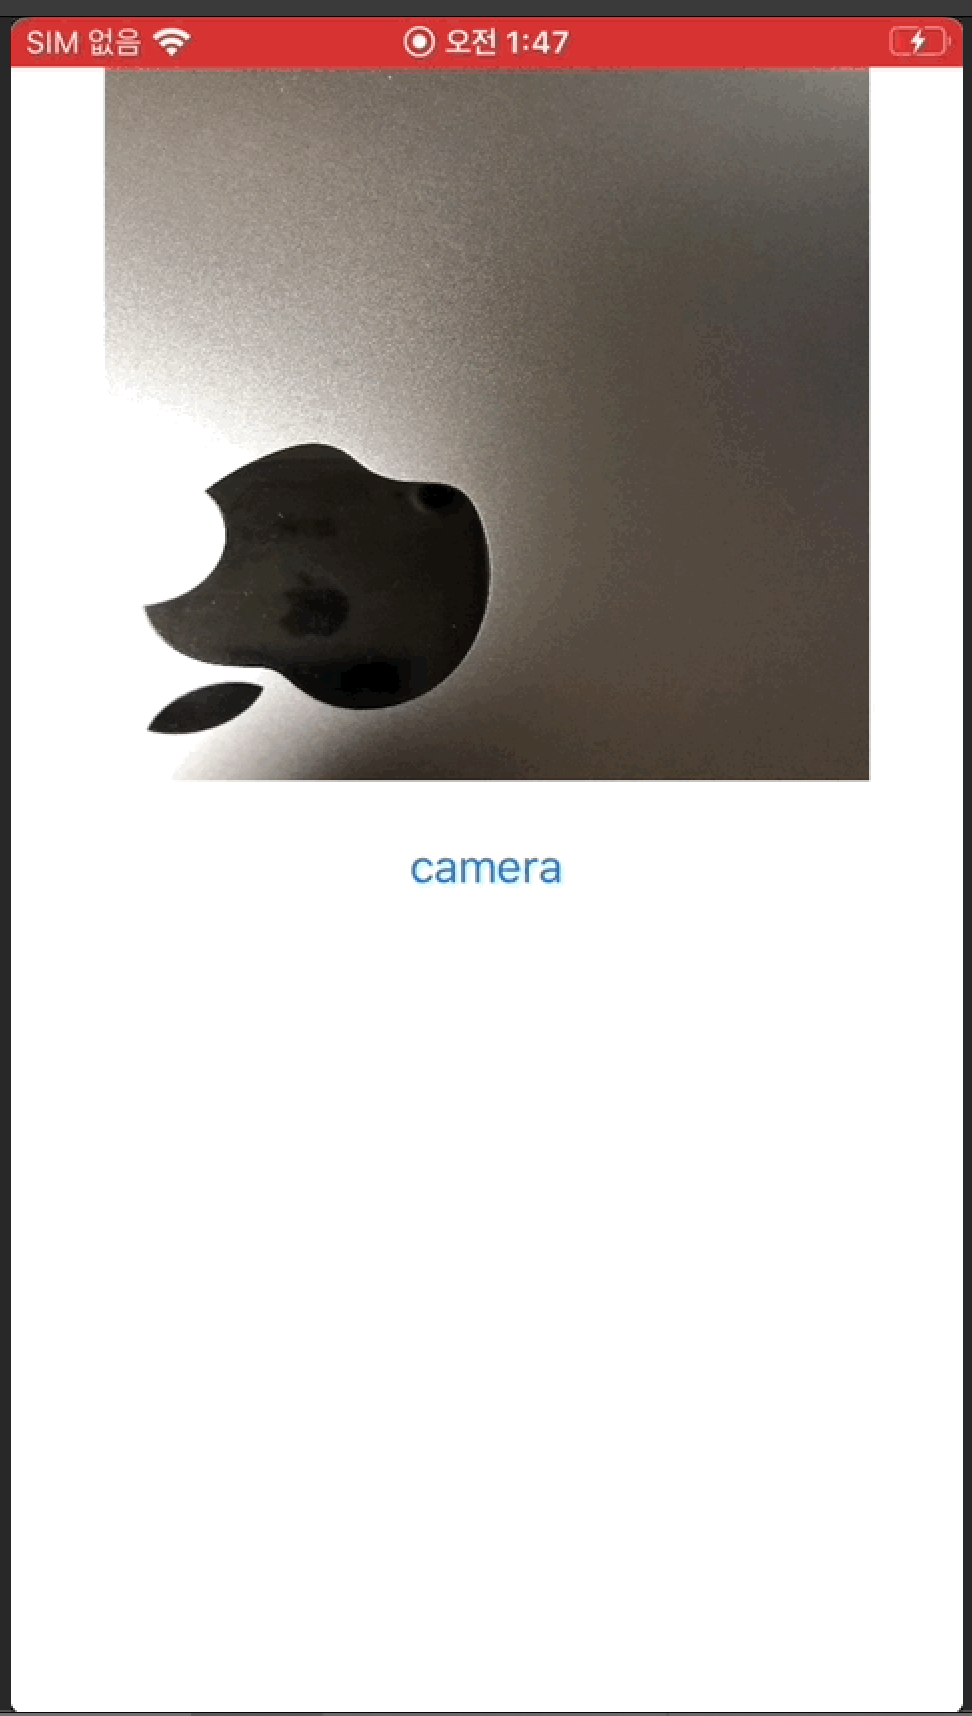
- UIImageView - 사진을 찍었을때 그 이미지를 표현할 UI
- UIButton - 사진 찍기 버튼

  private let cameraButton: UIButton = {
    let button = UIButton()
    button.setTitle("camera", for: .normal)
    button.setTitleColor(.systemBlue, for: .normal)
    button.setTitleColor(.blue, for: .highlighted)
    button.addTarget(self, action: #selector(openCamera), for: .touchUpInside)
    button.translatesAutoresizingMaskIntoConstraints = false
    return button
  }()
  private let imageView: UIImageView = {
    let view = UIImageView()
    view.translatesAutoresizingMaskIntoConstraints = false
    return view
}()- camera 권한 요청 메시지 info.plist에서 설정
	<key>NSCameraUsageDescription</key>
	<string>~를 사용하기 위해서 카메라 권한이 필요합니다.</string>
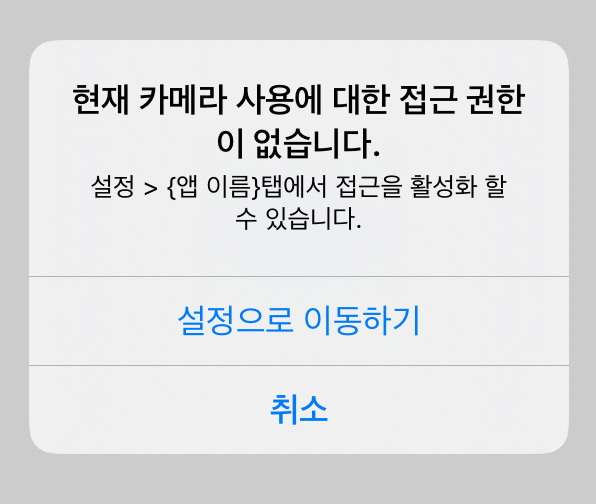
- showAlertGoToSetting() 메소드 구현
- 세팅으로 보내는 alert를 띄워주는 메소드
- UIApplication.shared.open(_:options:)를 사용하면 쉽게 setting화면으로 이동시키는게 가능

  func showAlertGoToSetting() {
    let alertController = UIAlertController(
      title: "현재 카메라 사용에 대한 접근 권한이 없습니다.",
      message: "설정 > {앱 이름}탭에서 접근을 활성화 할 수 있습니다.",
      preferredStyle: .alert
    )
    let cancelAlert = UIAlertAction(
      title: "취소",
      style: .cancel
    ) { _ in
        alertController.dismiss(animated: true, completion: nil)
      }
    let goToSettingAlert = UIAlertAction(
      title: "설정으로 이동하기",
      style: .default) { _ in
        guard
          let settingURL = URL(string: UIApplication.openSettingsURLString),
          UIApplication.shared.canOpenURL(settingURL)
        else { return }
        UIApplication.shared.open(settingURL, options: [:])
      }
    [cancelAlert, goToSettingAlert]
      .forEach(alertController.addAction(_:))
    DispatchQueue.main.async {
      self.present(alertController, animated: true) // must be used from main thread only
    }
}- camera 버튼을 탭한 경우 권한을 요청
- 만약 권한이 거부되어 있다면 Setting으로 보내야는 케이스도 추가
- 내부적으로 권한이 거부되어 있다면 isAuthorized값이 false로 되므로, 이때 setting화면으로 보내는 alert를 띄우는 형태로 구현
  @objc private func openCamera() {
    #if targetEnvironment(simulator)
    fatalError()
    #endif

    // Privacy - Camera Usage Description
    AVCaptureDevice.requestAccess(for: .video) { [weak self] isAuthorized in
      guard isAuthorized else {
        self?.showAlertGoToSetting() // 밑에서 계속 구현
        return
      }

    // TODO - 카메라 열기
}- 카메라 열기 구현
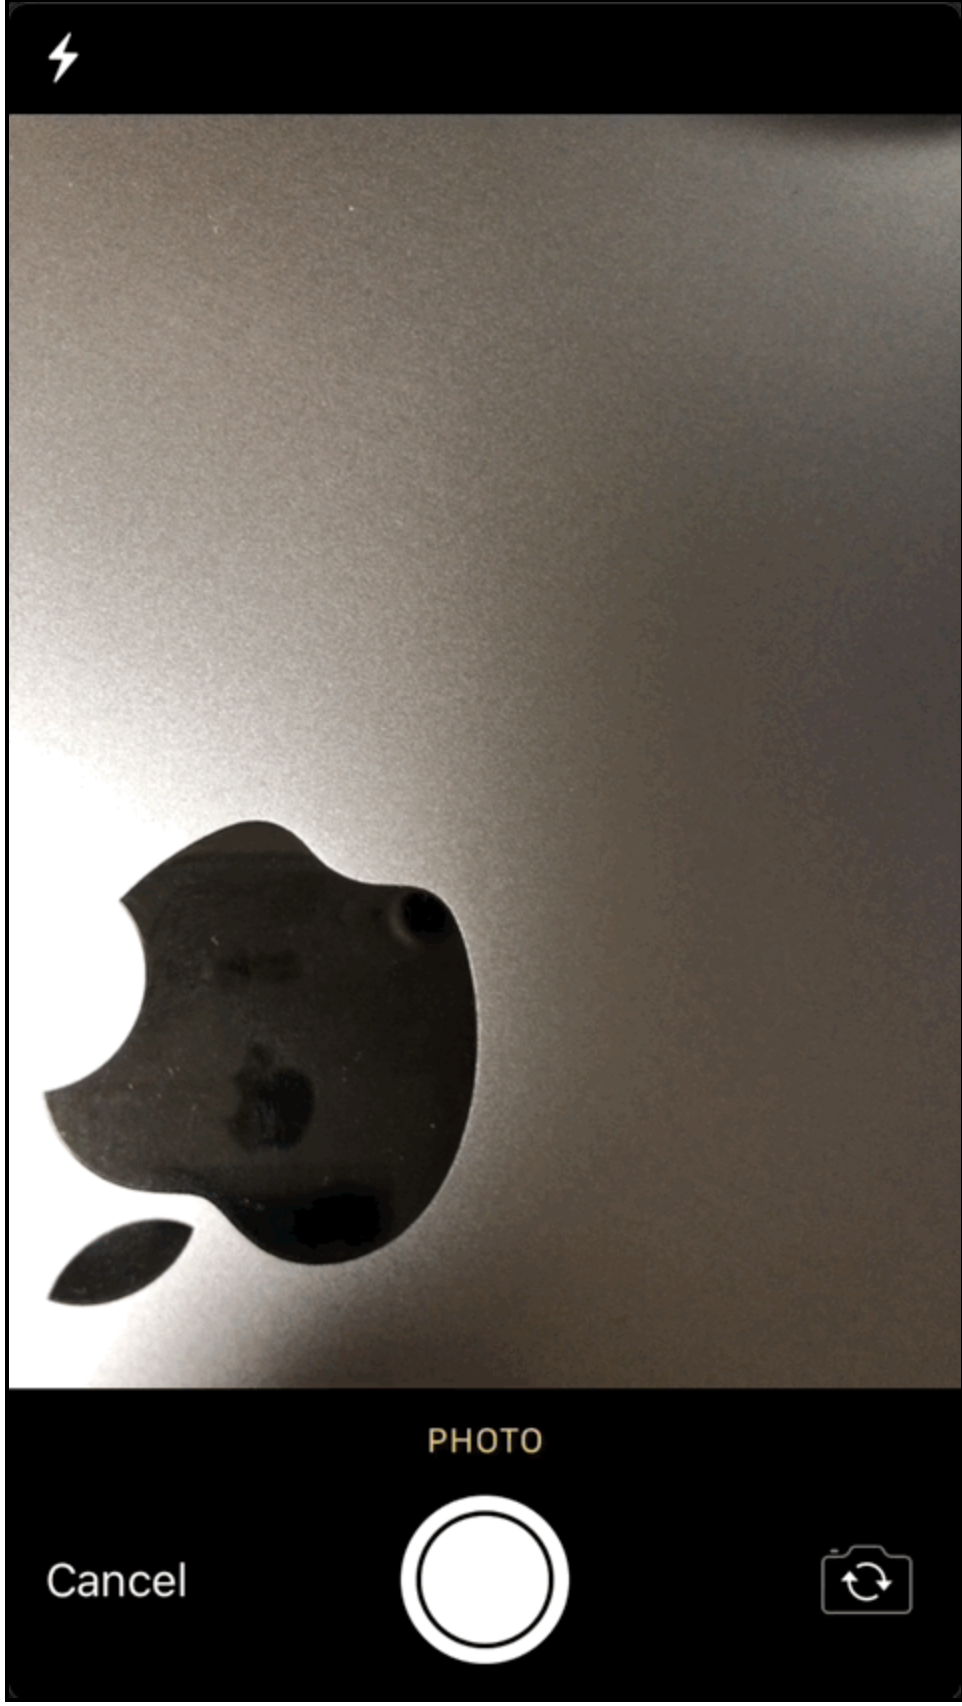
- UIImagePickerController를 사용하면 내부적으로 제공하는 카메라 UI를 그대로 사용 가능
- delegate를 할당하여 사진을 찍었을 때 UIImage로 가져와서 사용이 가능
      DispatchQueue.main.async {
        let pickerController = UIImagePickerController() // must be used from main thread only
        pickerController.sourceType = .camera
        pickerController.allowsEditing = false
        pickerController.mediaTypes = ["public.image"]
        // 만약 비디오가 필요한 경우,
  //      imagePicker.mediaTypes = ["public.movie"]
  //      imagePicker.videoQuality = .typeHigh
        pickerController.delegate = self
        self?.present(pickerController, animated: true)
}- delegate
- UINavigationControllerDelegate, UIImagePickerControllerDelegate 델리게이트에서,
imagePickerControlelr(_:didFinishPickingMediaWithInfo) 구현
- UINavigationControllerDelegate, UIImagePickerControllerDelegate 델리게이트에서,
extension ViewController: UINavigationControllerDelegate, UIImagePickerControllerDelegate {
  func imagePickerController(
    _ picker: UIImagePickerController,
    didFinishPickingMediaWithInfo info: [UIImagePickerController.InfoKey : Any]
  ) {
    guard let image = info[UIImagePickerController.InfoKey.originalImage] as? UIImage else {
      picker.dismiss(animated: true)
      return
    }
    self.imageView.image = image
    picker.dismiss(animated: true, completion: nil)
    // 비디오인 경우 - url로 받는 형태
//    guard let url = info[UIImagePickerController.InfoKey.mediaURL] as? URL else {
//      picker.dismiss(animated: true, completion: nil)
//      return
//    }
//    let video = AVAsset(url: url)
  }
}
* 전체 코드: https://github.com/JK0369/ExCamera
'iOS 응용 (swift)' 카테고리의 다른 글
Comments


