Notice
Recent Posts
Recent Comments
Link
| 일 | 월 | 화 | 수 | 목 | 금 | 토 |
|---|---|---|---|---|---|---|
| 1 | 2 | 3 | 4 | 5 | 6 | 7 |
| 8 | 9 | 10 | 11 | 12 | 13 | 14 |
| 15 | 16 | 17 | 18 | 19 | 20 | 21 |
| 22 | 23 | 24 | 25 | 26 | 27 | 28 |
Tags
- UITextView
- 스위프트
- collectionview
- tableView
- swiftUI
- clean architecture
- map
- swift documentation
- scrollview
- Refactoring
- Observable
- Human interface guide
- combine
- 리펙토링
- rxswift
- HIG
- uitableview
- uiscrollview
- SWIFT
- Xcode
- ios
- 애니메이션
- 리팩토링
- Protocol
- Clean Code
- UICollectionView
- ribs
- MVVM
- RxCocoa
- 클린 코드
Archives
- Today
- Total
김종권의 iOS 앱 개발 알아가기
[iOS - swift] UI 디버깅 방법 - Debug View Hierarchy 본문
Debug Veiw Hierarchy
- 뷰의 계층 구조를 시각적으로 보여주고, stack으로도 보여주는 가장 널리 알려진 툴
ex) 디버깅할 뷰 준비

class ViewController: UIViewController {
    private let tableView: UITableView = {
        let view = UITableView()
        view.allowsSelection = false
        view.backgroundColor = .clear
        view.separatorStyle = .none
        view.bounces = true
        view.showsVerticalScrollIndicator = true
        view.contentInset = .zero
        view.register(UITableViewCell.self, forCellReuseIdentifier: "cell")
        view.estimatedRowHeight = 34
        view.translatesAutoresizingMaskIntoConstraints = false
        return view
    }()

    private var items = (0...30).map(String.init)

    override func viewDidLoad() {
        super.viewDidLoad()

        view.addSubview(tableView)
        NSLayoutConstraint.activate([
            tableView.leftAnchor.constraint(equalTo: view.leftAnchor),
            tableView.rightAnchor.constraint(equalTo: view.rightAnchor),
            tableView.bottomAnchor.constraint(equalTo: view.bottomAnchor),
            tableView.topAnchor.constraint(equalTo: view.topAnchor),
        ])

        tableView.dataSource = self
    }
}

extension ViewController: UITableViewDataSource {
    func tableView(_ tableView: UITableView, numberOfRowsInSection section: Int) -> Int {
        items.count
    }
    func tableView(_ tableView: UITableView, cellForRowAt indexPath: IndexPath) -> UITableViewCell {
        let cell = tableView.dequeueReusableCell(withIdentifier: "cell", for: indexPath)
        cell.textLabel?.text = items[indexPath.row]
        return cell
    }
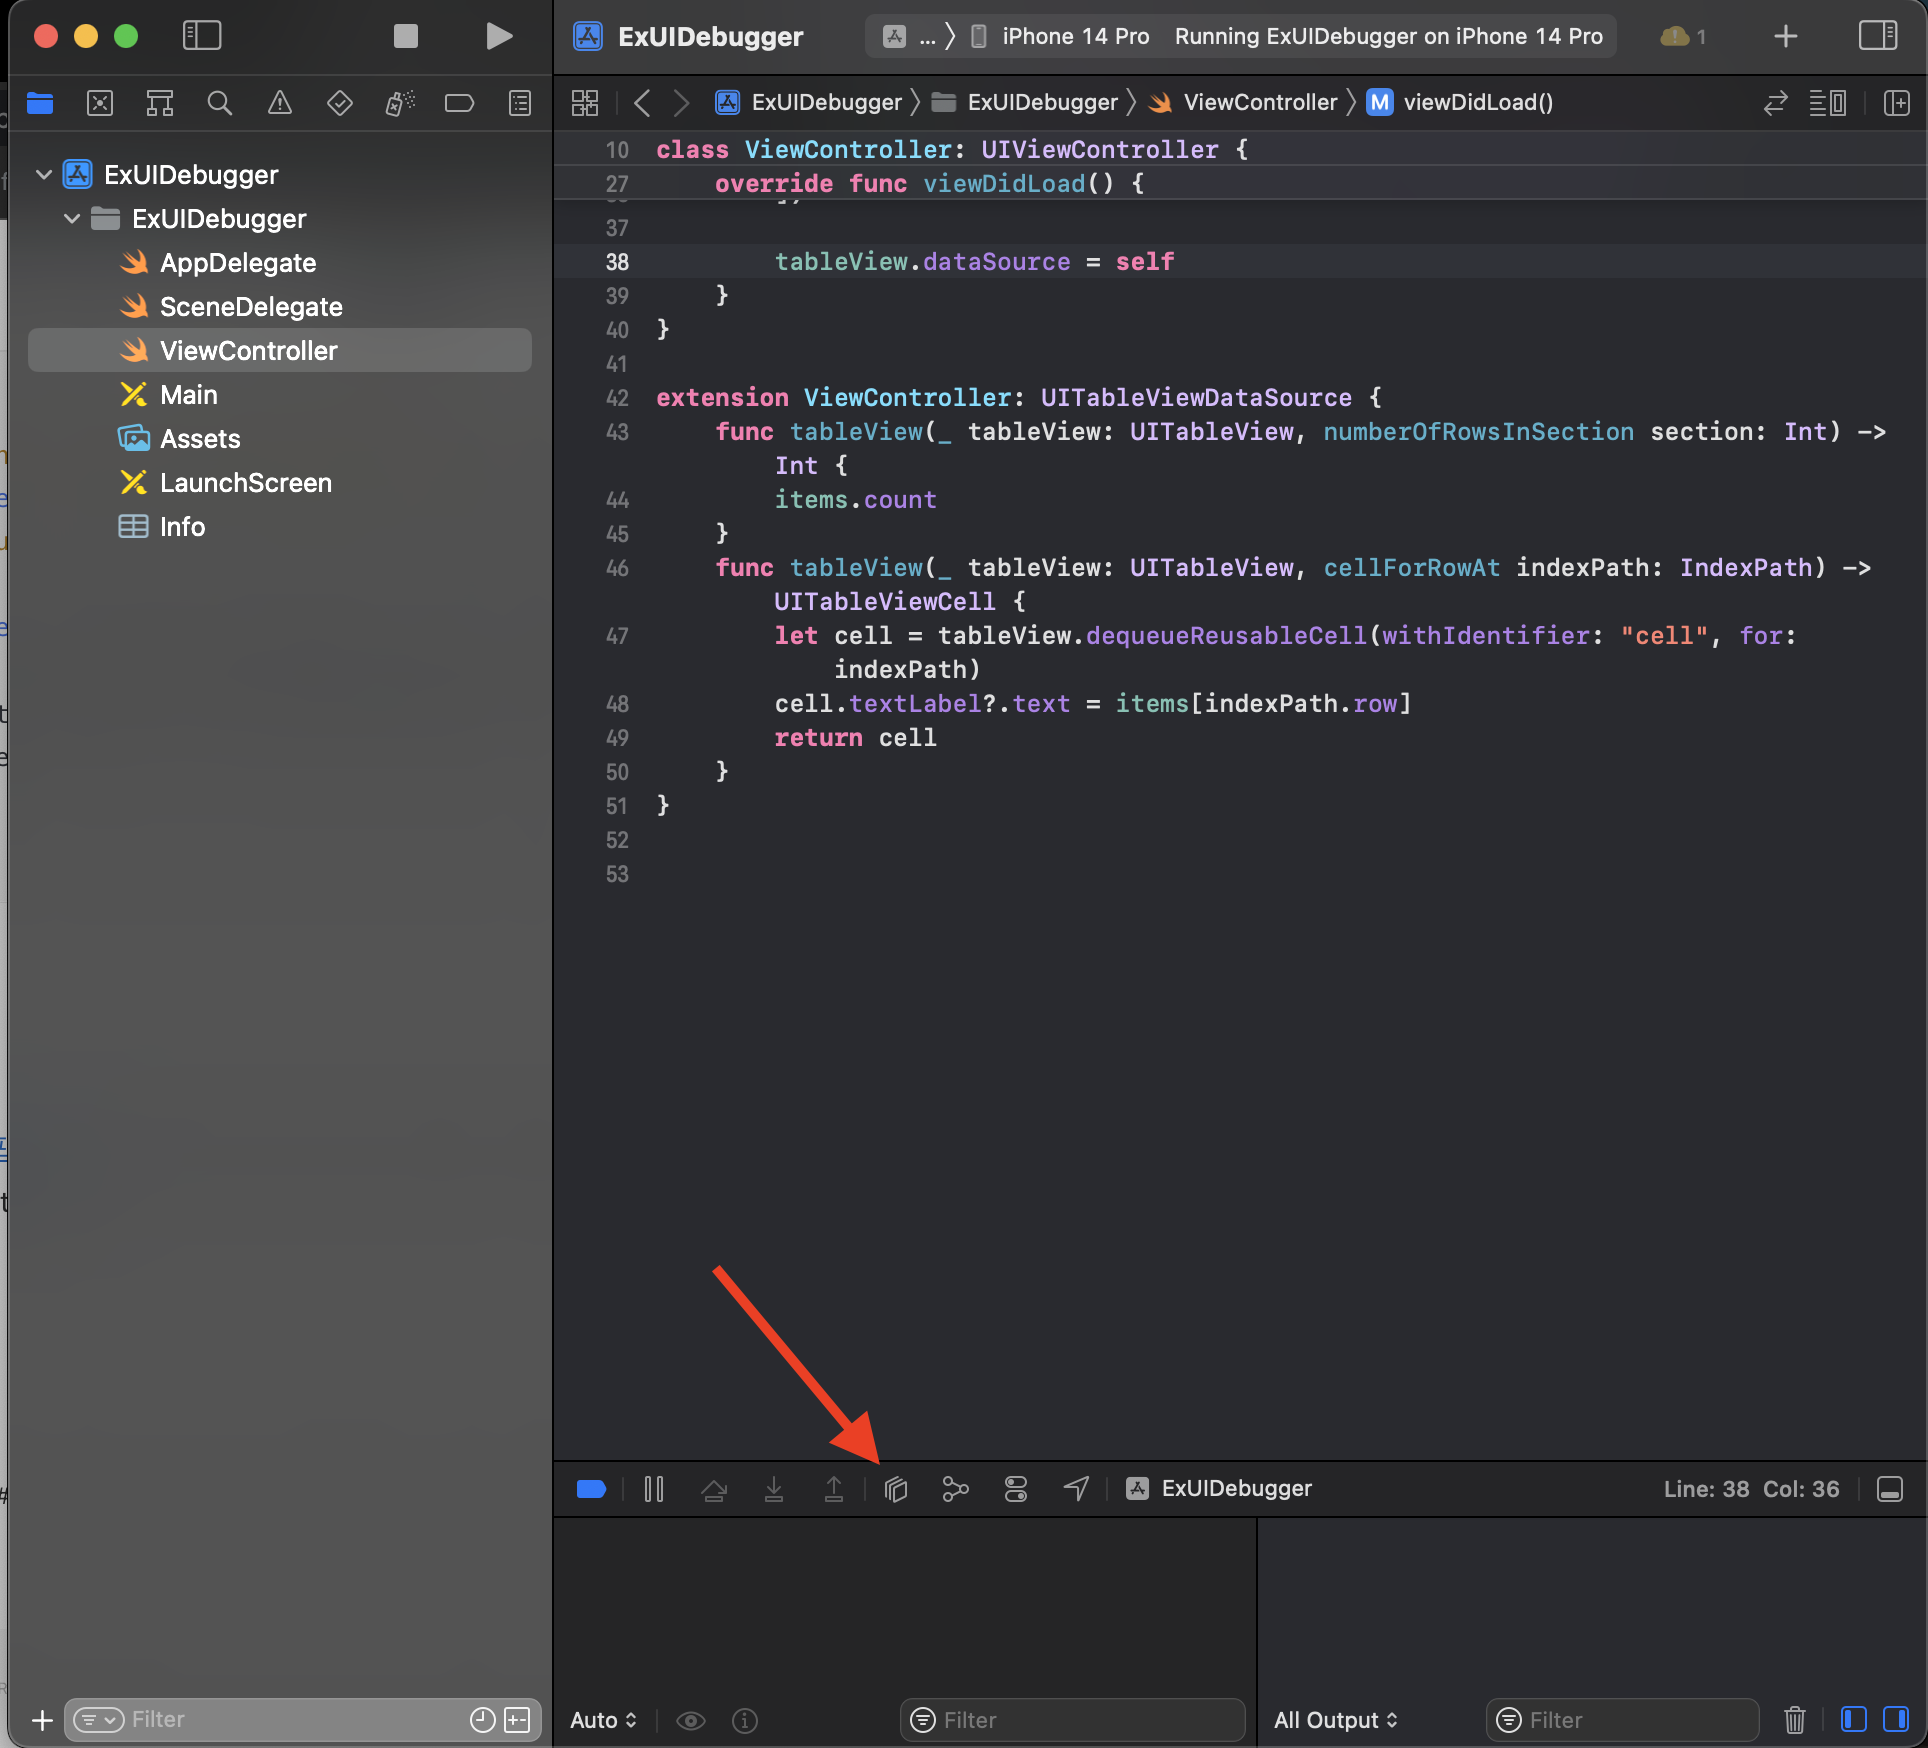
}- 실행 > Xcode > 아래 아이콘 선택

- 디버깅
- 왼쪽 슬라이더 - 뷰 나누기
- 오른쪽 슬라이더 - 뷰 제거

- navigator와 같이 확인하여 디버깅

- 화면에서 오른쪽 마우스 클릭 > Reveal in Debug Navigator를 누르면 네비게이터에서 해당 화면이 어디있는지 바로 확인도 가능

심화) UI 성능 개선 방법은 아래 포스팅 글 참고
1. UI 성능 분석 방법 - Render Loop 이해하기 (Commit, Layout, Display, Prepare, Commit)
2. UI 성능 분석 방법 - Instrument의 Animation Hitches 사용하여 UI 성능 분석
'iOS 응용 (swift)' 카테고리의 다른 글
Comments


