Notice
Recent Posts
Recent Comments
Link
| 일 | 월 | 화 | 수 | 목 | 금 | 토 |
|---|---|---|---|---|---|---|
| 1 | 2 | 3 | 4 | 5 | 6 | 7 |
| 8 | 9 | 10 | 11 | 12 | 13 | 14 |
| 15 | 16 | 17 | 18 | 19 | 20 | 21 |
| 22 | 23 | 24 | 25 | 26 | 27 | 28 |
Tags
- uitableview
- MVVM
- 리팩토링
- scrollview
- tableView
- Xcode
- uiscrollview
- 리펙토링
- 애니메이션
- ios
- HIG
- Refactoring
- combine
- RxCocoa
- 스위프트
- swift documentation
- ribs
- map
- Protocol
- Human interface guide
- SWIFT
- swiftUI
- rxswift
- Observable
- collectionview
- clean architecture
- UITextView
- UICollectionView
- Clean Code
- 클린 코드
Archives
- Today
- Total
김종권의 iOS 앱 개발 알아가기
[iOS - swift] GCD, DispatchQueue, DispatchGroup(enter, leave, notify), DispatchWorkItem (Debounce 구현 방법) 본문
iOS 기본 (swift)
[iOS - swift] GCD, DispatchQueue, DispatchGroup(enter, leave, notify), DispatchWorkItem (Debounce 구현 방법)
jake-kim 2021. 10. 31. 02:05DispatchQueue 개념

- Thread pool을 thread safe하게 관리하는 객체
- 멀티 스레드에서도 어떤 함수나 변수, 혹은 객체가 여러 스레드로부터 동시에 접근이 이루어져도 프로그램의 실행에 문제가 발생하지 않는 것
- Thread를 다루는 GCD(Grand Central Dispatch) 중 하나
DispatchQueue의 종류 3가지
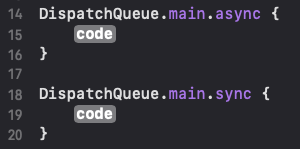
1) main (serial)
- main thread에서 처리되는 serial queue (모든 UI관련 작업은 해당 큐에서 main queue에서 실행)

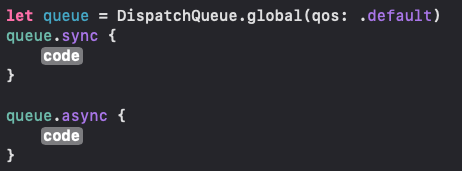
2) global (concurrent)
- 전체 시스템에서 공유되는 concurrent queue이고, concurrent이기 queue끼리의 우선순위를 위해서 queue를 사용할 때 QoS 설정 필요
- userInteractive: 유저가 누르면 즉각 반응 (main queue)
- userInitiated: 유저가 실행시킨 작업들을 즉각적이지는 않지만, async하도록 처리
- default
- utility: I/O, n/w API 호출
- background: 유저가 인지하지 못할 정도의 뒷단에서 수행하는 작업

3) 커스텀
- 개발자가 임의로 정의한 queue이고 serial / concurrent 모두 정의 가능
- 기본적으로 주어진 것은 main은 serial, global은 concurrent이므로 main이 아닌 뒷단에서 serial로 수행하고 싶은 경우 사용
DiapatchGroup 개념
- 여러 Thread들을 하나의 Group으로 묶어서 그룹 단위의 작업흐름을 만들기 위함
- 보통 async한 작업들이 있을 때, 특정 group의 작업들이 끝나고서 다른 작업들을 수행할 때 싱크를 맞추기 위해 사용
DiapatchGroup - enter(), leave(), notify()
- group에 넣고싶은 작업 코드 위에 enter()를 선언
- 작업이 끝난 코드 다음에 leave() 선언
- leave()가 불린 경우, 그 다음 작업을 이어서 수행시키고 싶을 때 notify()의 클로저에 작업 선언
ex) print 1, 2, 3은 async하게 하고 싶고, 나머지 4, 5, 6을 1, 2, 3 호출 후 순서에 맞게 그 다음 호출되게 하고싶은 경우
// DispatchGroup 사용하지 않은 경우

override func viewDidLoad() {
    super.viewDidLoad()

    DispatchQueue.main.async {
        print(1)
        print(2)
        print(3)
    }
    print(4)
    print(5)
    print(6)
}

/*
4
5
6
1
2
3
*/
// DispatchGroup을 사용한 경우
override func viewDidLoad() {
super.viewDidLoad()
let waitGroup = DispatchGroup()
waitGroup.enter()
DispatchQueue.main.async {
print(1)
print(2)
print(3)
}
waitGroup.leave()
waitGroup.notify(queue: .main) {
print(4)
print(5)
print(6)
}
}
/*
1
2
3
4
5
6
*/ex) DispatchGroup와 DispatchQueue를 사용하는 방법
DispatchQueue의 group 파라미터에 DispatchGroup 인스턴스를 전달
// DispatchGroup을 사용하지 않은 경우

override func viewDidLoad() {
    super.viewDidLoad()

    let queue = DispatchQueue.global()

    queue.async {
        print(1)
        print(2)
        print(3)
    }

    queue.async {
        print(4)
        print(5)
        print(6)
    }

    print("마지막에 실행?")

    /*
     1
     마지막에 실행?
     4
     2
     3
     5
     6
     */
}
// DispatchGroup을 사용한 경우
override func viewDidLoad() {
super.viewDidLoad()
let waitGroup = DispatchGroup()
let queue = DispatchQueue.global()
queue.async(group: waitGroup) {
print(1)
print(2)
print(3)
}
queue.async(group: waitGroup) {
print(4)
print(5)
print(6)
}
waitGroup.notify(queue: queue) {
print("마지막에 실행?")
}
/*
1
4
2
3
5
6
마지막에 실행?
*/
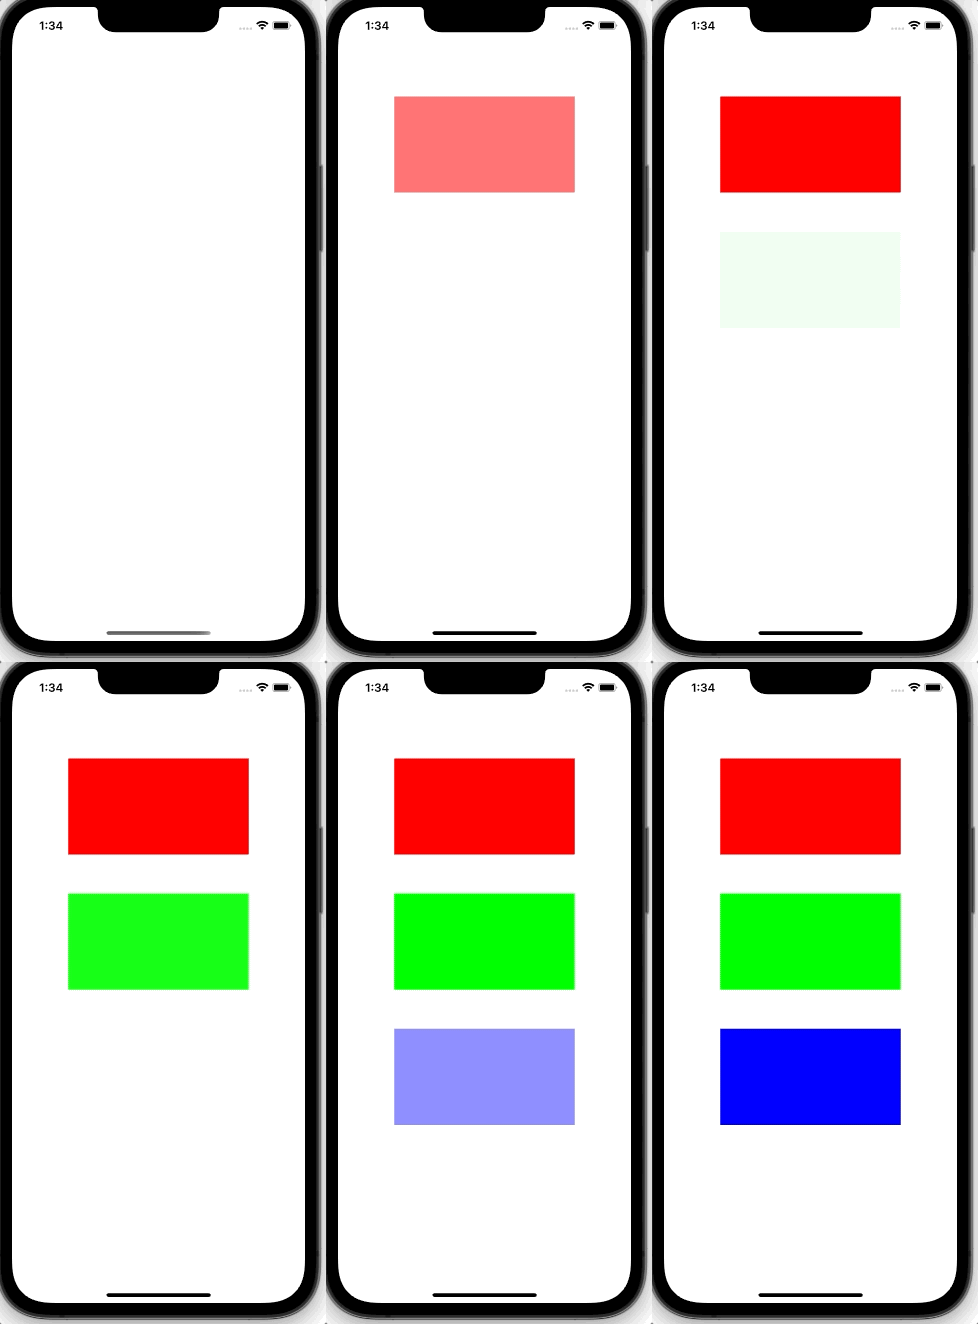
}ex) DispatchGroup을 통해서 세 개의 뷰에 Animation을 순서대로 사용

let waitGroup1 = DispatchGroup()
let waitGroup2 = DispatchGroup()

waitGroup1.enter()
UIView.animate(withDuration: 1.5, delay: 0.0) {
    self.view1.backgroundColor = .red
} completion: { _ in
    waitGroup1.leave()
}

waitGroup2.enter()
waitGroup1.notify(queue: .main) {
    UIView.animate(withDuration: 1.5, delay: 0.0) {
        self.view2.backgroundColor = .green
    } completion: { _ in
        waitGroup2.leave()
    }
}

waitGroup2.notify(queue: .main) {
    UIView.animate(withDuration: 1.5, delay: 0.0) {
        self.view3.backgroundColor = .blue
    }
}
DispatchWorkItem

- DispatchQueue에서 사용하는 completion handler에 들어갈 작업 블록
- 해당 인스턴스는 perform(), cancel()기능이 존재
let workItem1 = DispatchWorkItem {
    UIView.animate(withDuration: 10.0, delay: 0.0) {
        self.view3.backgroundColor = .black
    }
}
workItem1.cancel()
workItem1.perform() // cancel됐으므로 작업 실행 x
let workItem1 = DispatchWorkItem {
UIView.animate(withDuration: 10.0, delay: 0.0) {
self.view3.backgroundColor = .black
}
}
workItem1.perform() // 작업 실행 o- DispatchWorkItem이 존재하는 이유는, DispatchQueue의 execute 블록에 DispatchWorkItem 인스턴스를 넣고, 외부에서 이 인스턴스를 cancel하면 DispatchQueue에서 실행되지 않게끔 control이 편하여 사용
ex) 검색창에서 debounce 구현
- 사용자가 검색창에 2초동안 검색을 하지 않고 있으면 자동으로 검색되고, 만약 2초안에 새로운 것을 입력하면 다시 2초 기다리는 로직

class ViewController: UIViewController {
    @IBOutlet weak var label: UILabel!

    private var requestSearchWorkItem: DispatchWorkItem?

    override func viewDidLoad() {
        super.viewDidLoad()

        setupSearchBar()
    }

    private func setupSearchBar() {
        let searchController = UISearchController(searchResultsController: nil)
        searchController.searchBar.placeholder = "검색 창"
        searchController.searchResultsUpdater = self
        navigationItem.searchController = searchController
    }

}

extension ViewController: UISearchResultsUpdating {
    func updateSearchResults(for searchController: UISearchController) {
        guard let text = searchController.searchBar.text else { return }

        // 검색어 입력이 들어오면, 검색 호출을 cancel
        requestSearchWorkItem?.cancel()

        let requestSearchWorkItem = DispatchWorkItem { [weak self] in
            // search API call ...
            self?.label.text = "\(text)로 검색 호출"
        }
        self.requestSearchWorkItem = requestSearchWorkItem
        DispatchQueue.main.asyncAfter(deadline: .now() + .seconds(2), execute: requestSearchWorkItem)
    }
}
cf) concurrent queue에서 barrier flag를 사용하여, sync하게 사용하는 방법: https://ios-development.tistory.com/588
* 참고
https://developer.apple.com/documentation/dispatch/dispatchworkitem
'iOS 기본 (swift)' 카테고리의 다른 글
Comments


