Notice
Recent Posts
Recent Comments
Link
| 일 | 월 | 화 | 수 | 목 | 금 | 토 |
|---|---|---|---|---|---|---|
| 1 | 2 | 3 | 4 | 5 | 6 | 7 |
| 8 | 9 | 10 | 11 | 12 | 13 | 14 |
| 15 | 16 | 17 | 18 | 19 | 20 | 21 |
| 22 | 23 | 24 | 25 | 26 | 27 | 28 |
Tags
- 스위프트
- combine
- 리팩토링
- ios
- tableView
- Xcode
- RxCocoa
- 클린 코드
- 애니메이션
- ribs
- swift documentation
- collectionview
- MVVM
- Observable
- UITextView
- SWIFT
- map
- uiscrollview
- Protocol
- UICollectionView
- rxswift
- 리펙토링
- Refactoring
- Clean Code
- clean architecture
- uitableview
- scrollview
- Human interface guide
- HIG
- swiftUI
Archives
- Today
- Total
김종권의 iOS 앱 개발 알아가기
[iOS - swift] CustomPopup (커스텀 팝업) 구현 방법 본문

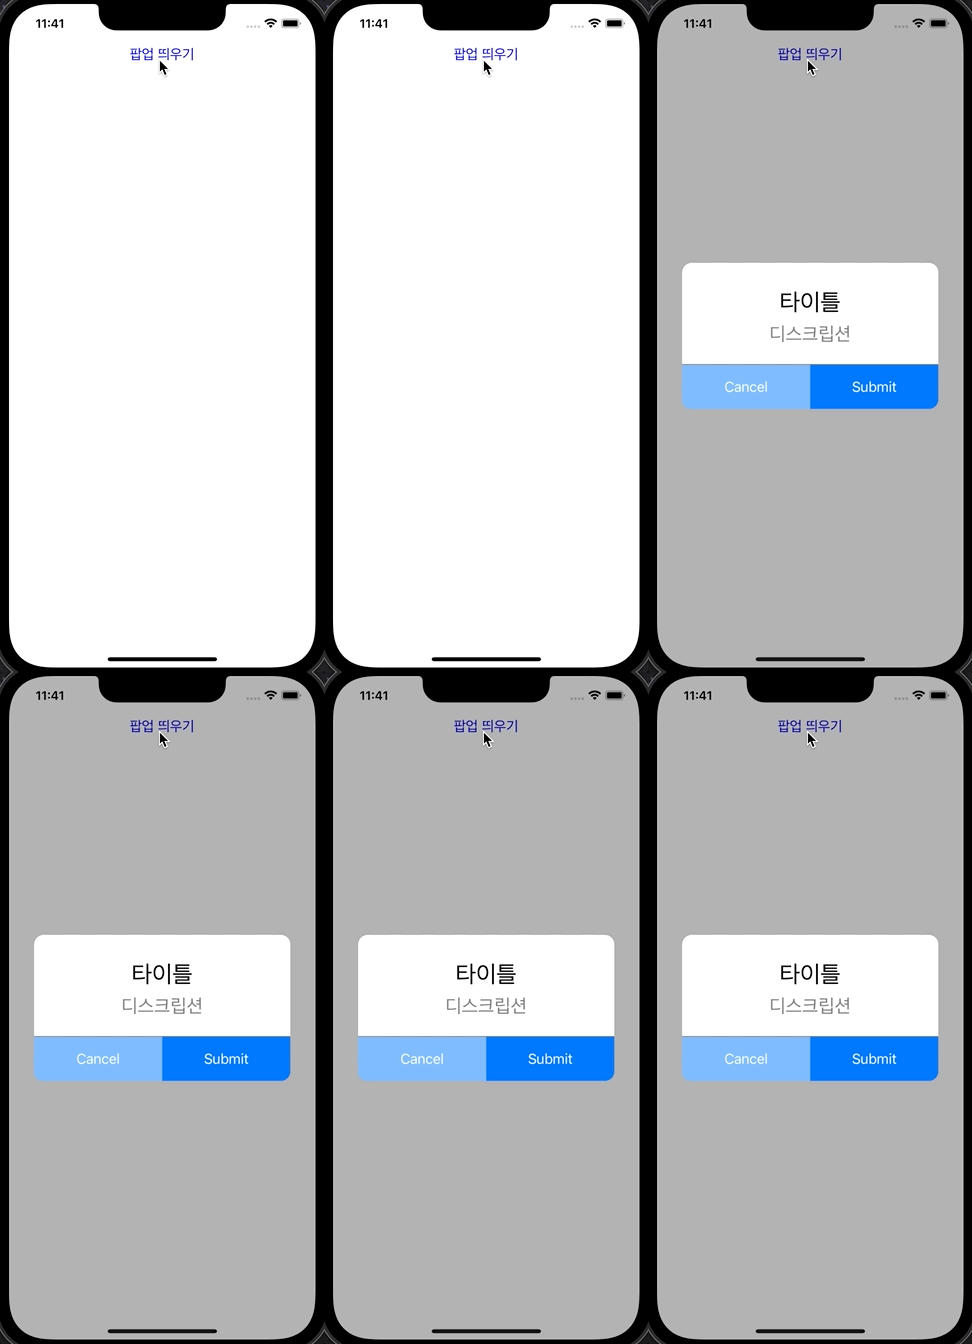
CustomPopup 구현 아이디어

- 팝업을 띄울 때, MyPopupViewController를 modal로 present하여, 팝업 주의를 탭해도 이벤트를 받지 않도록 설정
- MyPopupViewController에는 커스텀 팝업 UI인 MyPopupView를 가지고 있으며, 이 view의 layout은 화면에 꽉 차게끔 auto layout 사용
- MyPopupView에서는 poupView라는 UIView를 넣고, 이 뷰의 layout은 left, right, centerT값만 정하여 높이값은 내부 뷰들 (label, button)들의 intrinsic content size에 맞게 알아서 높이가 정해지도록 구현
구현에서 코드로 편리하게 UI를 구현하기 위해 사용한 프레임워크)
pod 'SnapKit'
pod 'Then'
사용하는 쪽
- 버튼 탭 이벤트 발생 시, 아래에서 구현할 MyPopupViewController를 만들어서 present
//  ViewController.swift

@objc private func didTapButton() {
  let popupViewController = MyPopupViewController(title: "타이틀", desc: "디스크립션")
  popupViewController.modalPresentationStyle = .overFullScreen
  self.present(popupViewController, animated: false)
}
MyPopupViewController
- 아래에서 구현할 MyPopupView를 가지고 있고, 이 뷰를 self.view에 꽉차게끔 레이아웃 설정
//  MyPopupViewController.swift

import UIKit
import SnapKit
import Then

class MyPopupViewController: UIViewController {
  private let popupView: MyPopupView

  init(title: String, desc: String) {
    self.popupView = MyPopupView(title: title, desc: desc)
    super.init(nibName: nil, bundle: nil)

    self.view.backgroundColor = .clear
    self.view.addSubview(self.popupView)
    self.popupView.snp.makeConstraints {
      $0.edges.equalToSuperview()
    }
  }

  required init?(coder: NSCoder) { fatalError() }
}
MyPopupView

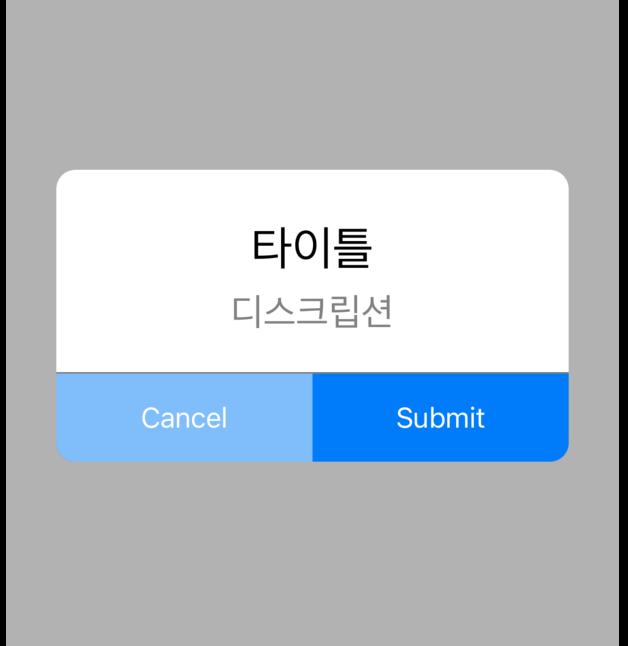
- popupView (컨테이너 뷰)
- 주의: self는 전체 검은 화면을 의미하고, self.popupView는 팝업 내용
// MyPopupView.swift class MyPopupView: UIView { private let popupView = UIView().then { $0.backgroundColor = .white $0.layer.cornerRadius = 12 $0.clipsToBounds = true } self.backgroundColor = .black.withAlphaComponent(0.3) self.addSubview(self.popupView) ... - popupView의 레이아웃은 left, right, centerY만 설정하여, 높이는 내부 뷰들의 고유 사이즈에 맞게 동적으로 변경되도록 구현
self.popupView.snp.makeConstraints { $0.left.right.equalToSuperview().inset(32) $0.centerY.equalToSuperview() }
- 주의: self는 전체 검은 화면을 의미하고, self.popupView는 팝업 내용
- StackView.addArrangedSubviews(타이틀, 디스크립션)
- separatorLineView
- Button 두 개 - 핵심
- 현재 popupView가 다른 뷰들을 감싸고 있으므로, 내부 뷰들이 auto layout을 통해 저절로 크기가 정해져야 하므로 bottom이나 높이가 필요한데, 이 때 맨 마지막 요소인 button의 높이가 지정되어야 가능
// popupView가 다른 뷰들 감싸고 있는 형태 self.addSubview(self.popupView) [self.bodyStackView, self.separatorLineView, self.leftButton, self.rightButton] .forEach(self.popupView.addSubview(_:)) [self.titleLabel, self.descLabel] .forEach(self.bodyStackView.addArrangedSubview(_:)) ... // 버튼의 height가 지정되어 있으므로 외부에서 동적으로 크기 늘어날 수 있는 상태 (bottom에 관한 autolayout을 주어도 괜찮고, button은 원래 intrinsic content size가 있으므로 안줘도 무방) self.leftButton.snp.makeConstraints { $0.top.equalTo(self.separatorLineView.snp.bottom) $0.bottom.left.equalToSuperview() $0.width.equalToSuperview().dividedBy(2) $0.height.equalTo(56) } self.rightButton.snp.makeConstraints { $0.top.equalTo(self.separatorLineView.snp.bottom) $0.bottom.right.equalToSuperview() $0.width.equalToSuperview().dividedBy(2) $0.height.equalTo(56) } - SnapKit의 dividedBy(2)를 사용하여 구현
- 각 버튼 두 개를 horizontal StackView에 넣어서 비율을 같게하여 구현할 수 있지만, UIStackView의 성능 이슈도 있고 UI요소가 하나 더 늘어나게 되므로 버튼 두 개로만 구현
- 현재 popupView가 다른 뷰들을 감싸고 있으므로, 내부 뷰들이 auto layout을 통해 저절로 크기가 정해져야 하므로 bottom이나 높이가 필요한데, 이 때 맨 마지막 요소인 button의 높이가 지정되어야 가능
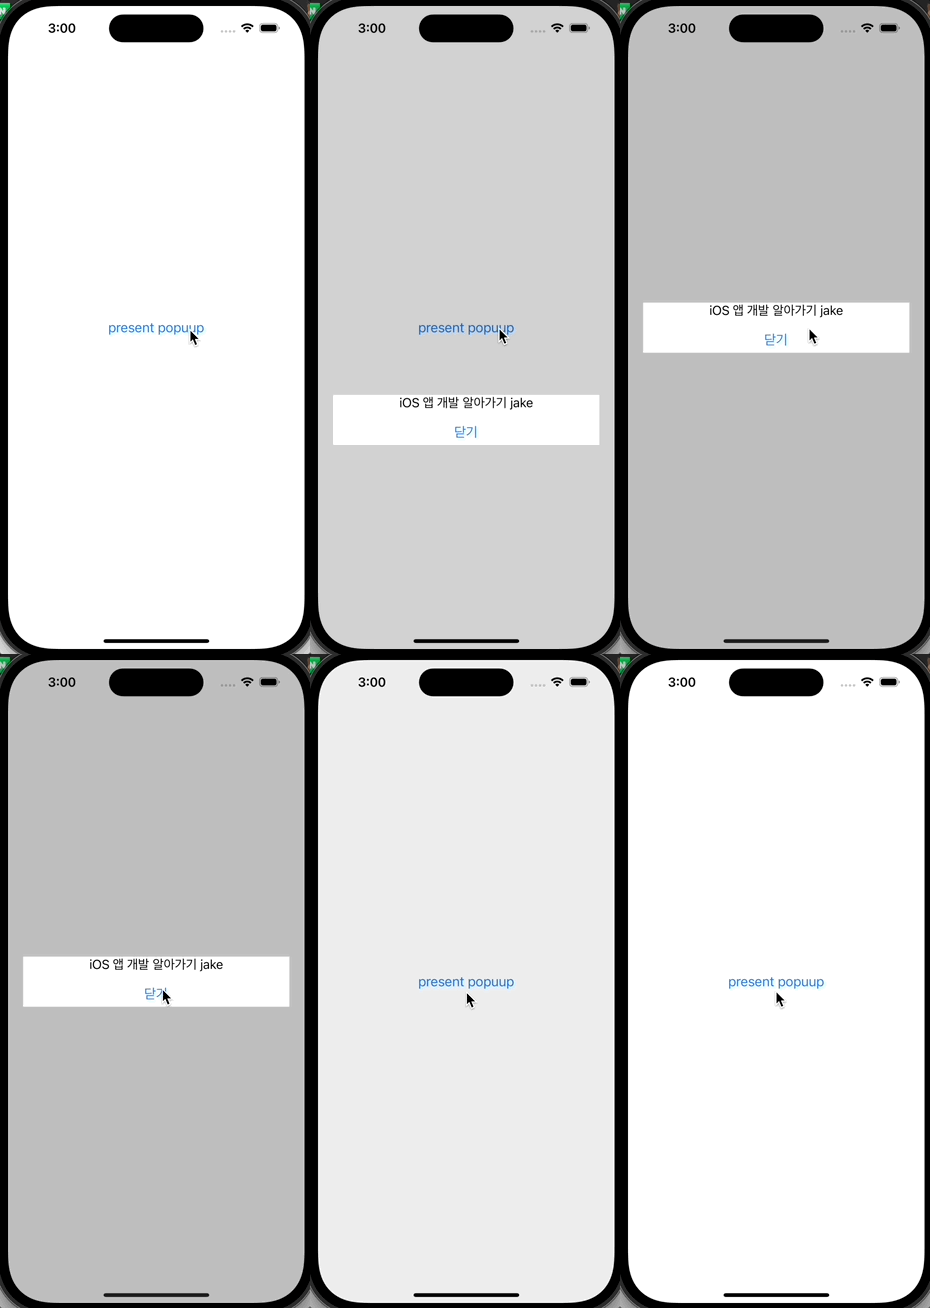
cf) 아래와같은 UIViewController를 커스텀하여 만든 팝업은 이 포스팅 글 참고

'UI 컴포넌트 (swift)' 카테고리의 다른 글
Comments


