Notice
Recent Posts
Recent Comments
Link
| 일 | 월 | 화 | 수 | 목 | 금 | 토 |
|---|---|---|---|---|---|---|
| 1 | 2 | 3 | ||||
| 4 | 5 | 6 | 7 | 8 | 9 | 10 |
| 11 | 12 | 13 | 14 | 15 | 16 | 17 |
| 18 | 19 | 20 | 21 | 22 | 23 | 24 |
| 25 | 26 | 27 | 28 | 29 | 30 | 31 |
Tags
- uitableview
- ribs
- rxswift
- map
- Refactoring
- tableView
- swiftUI
- collectionview
- ios
- Protocol
- uiscrollview
- UITextView
- Observable
- 리팩토링
- UICollectionView
- Xcode
- HIG
- RxCocoa
- combine
- scrollview
- 리펙토링
- 애니메이션
- MVVM
- SWIFT
- Human interface guide
- Clean Code
- 스위프트
- clean architecture
- 클린 코드
- swift documentation
Archives
- Today
- Total
김종권의 iOS 앱 개발 알아가기
[iOS - SwiftUI] 튜토리얼 - 18. iOS앱 프로젝트에 macOS 맥북 앱 UI 구현 방법 (2) (+ ZStack 개념) 본문
iOS 튜토리얼 (SwiftUI)
[iOS - SwiftUI] 튜토리얼 - 18. iOS앱 프로젝트에 macOS 맥북 앱 UI 구현 방법 (2) (+ ZStack 개념)
jake-kim 2022. 7. 21. 22:47* 프로젝트 파일은 애플 튜토리얼 사이트나 이전 포스팅 글 참고
LandmarkDetail 화면 구현 방법
- iOS 앱에서도 해당 화면과 유사한 화면을 만들었지만, 플랫폼마다 데이터를 표출하는 방법에는 각기 다른 방식이 필요 (애플 권장)
- 약간의 조정이나 조건부 compile을 통해 플랫폼 간 View를 재사용할 수 있지만 세부 사항 View같은 경우, iOS와 MacOS는 완전 다른 레이아웃을 가지고 있기 때문에 변경이 필요
- 차이점 - iOS는 작은 화면이고 macOS는 큰 화면이므로 에이아웃도 다르게해야 하는것이 좋음 (애플 권장)
- iOS 코드를 복사한 다음 MacOS 전용으로 수정하는 방식 코딩
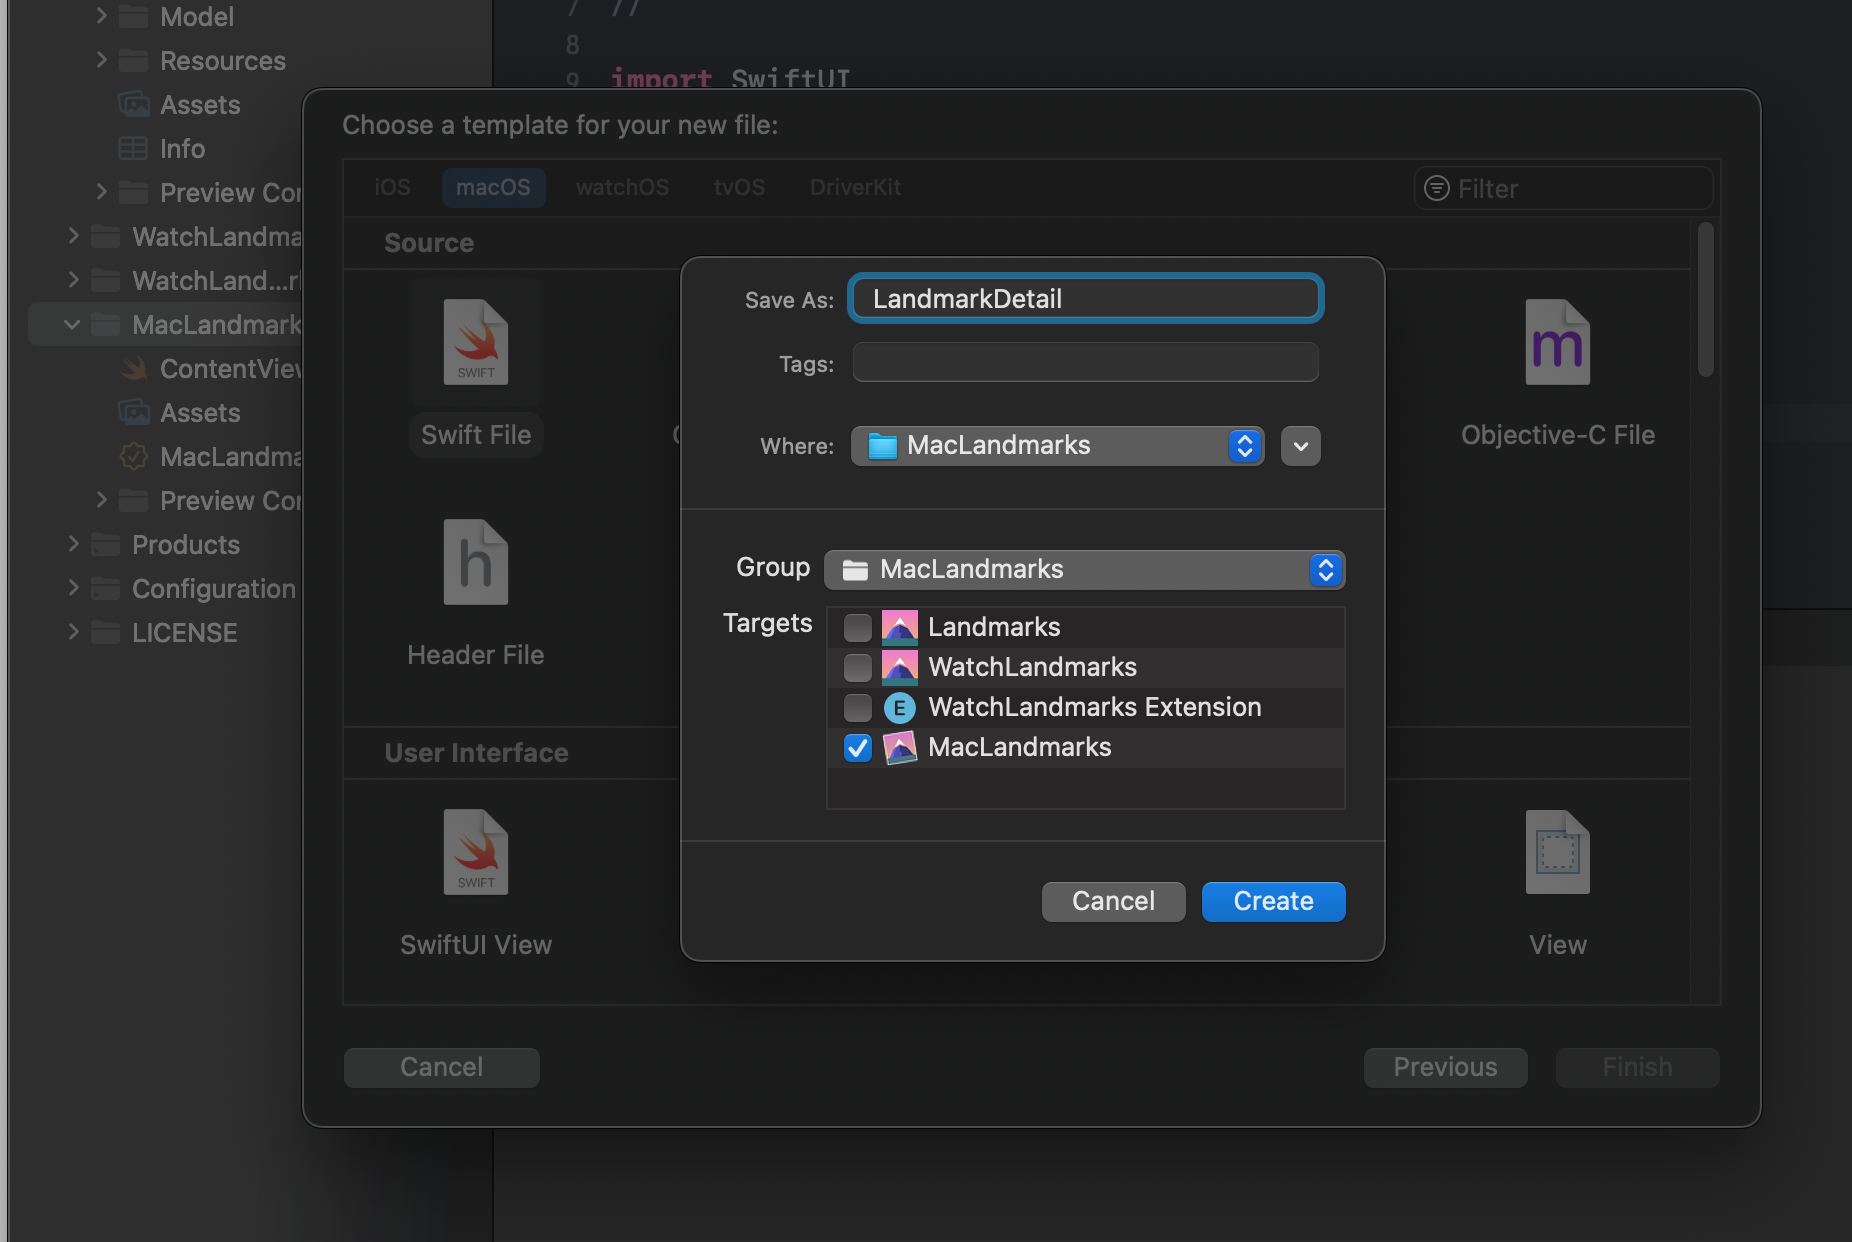
- MacLandmarks 폴더 하위에, MacLandmarks 타겟을 체크하고 생성
- iOS의 LandmarkDetail 파일을 열어서 복사 (여기서 부터 macOS 전용 UI로 수정해나가며 코딩)
import SwiftUI

struct LandmarkDetail: View {
  @EnvironmentObject var modelData: ModelData
  var landmark: Landmark

  var landmarkIndex: Int {
    modelData.landmarks.firstIndex(where: { $0.id == landmark.id })!
  }

  var body: some View {
    ScrollView {
      MapView(coordinate: landmark.locationCoordinate)
        .ignoresSafeArea(edges: .top)
        .frame(height: 300)

      CircleImage(image: landmark.image)
        .offset(y: -130)
        .padding(.bottom, -130)

      VStack(alignment: .leading) {
        HStack {
          Text(landmark.name)
            .font(.title)
          FavoriteButton(isSet: $modelData.landmarks[landmarkIndex].isFavorite)
        }

        HStack {
          Text(landmark.park)
          Spacer()
          Text(landmark.state)
        }
        .font(.subheadline)
        .foregroundColor(.secondary)

        Divider()

        Text("About \(landmark.name)")
          .font(.title2)
        Text(landmark.description)
      }
      .padding()
    }
    .navigationTitle(landmark.name)
    .navigationBarTitleDisplayMode(.inline)
  }
}

struct LandmarkDetail_Previews: PreviewProvider {
  static let modelData = ModelData()

  static var previews: some View {
    LandmarkDetail(landmark: modelData.landmarks[0])
      .environmentObject(modelData)
  }
}- 위 코드에서 navigationBarTitleDisplayMode 부분 삭제
- macOS에서는 navigationBarTitleDisplayMode 사용이 불가 (컴파일 에러 발생)
- Preview 실행
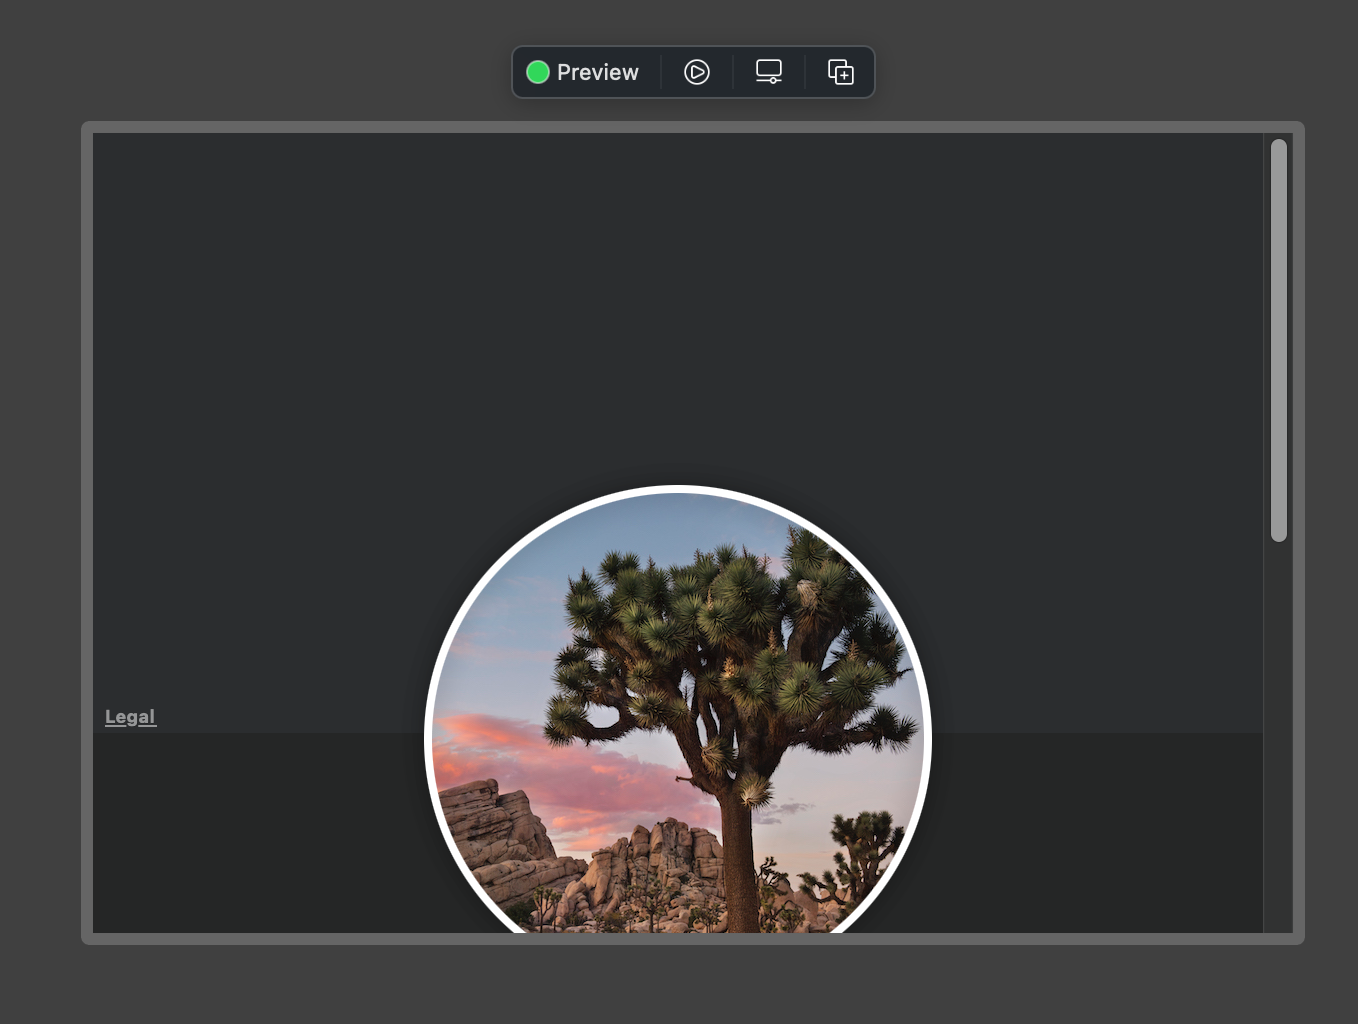
- 조금 더 크게 보기위해서 preview에 frame 추가
struct LandmarkDetail_Previews: PreviewProvider {
  static let modelData = ModelData()

  static var previews: some View {
    LandmarkDetail(landmark: modelData.landmarks[0])
      .environmentObject(modelData)
      .frame(width: 850, height: 700) // <-
  }
}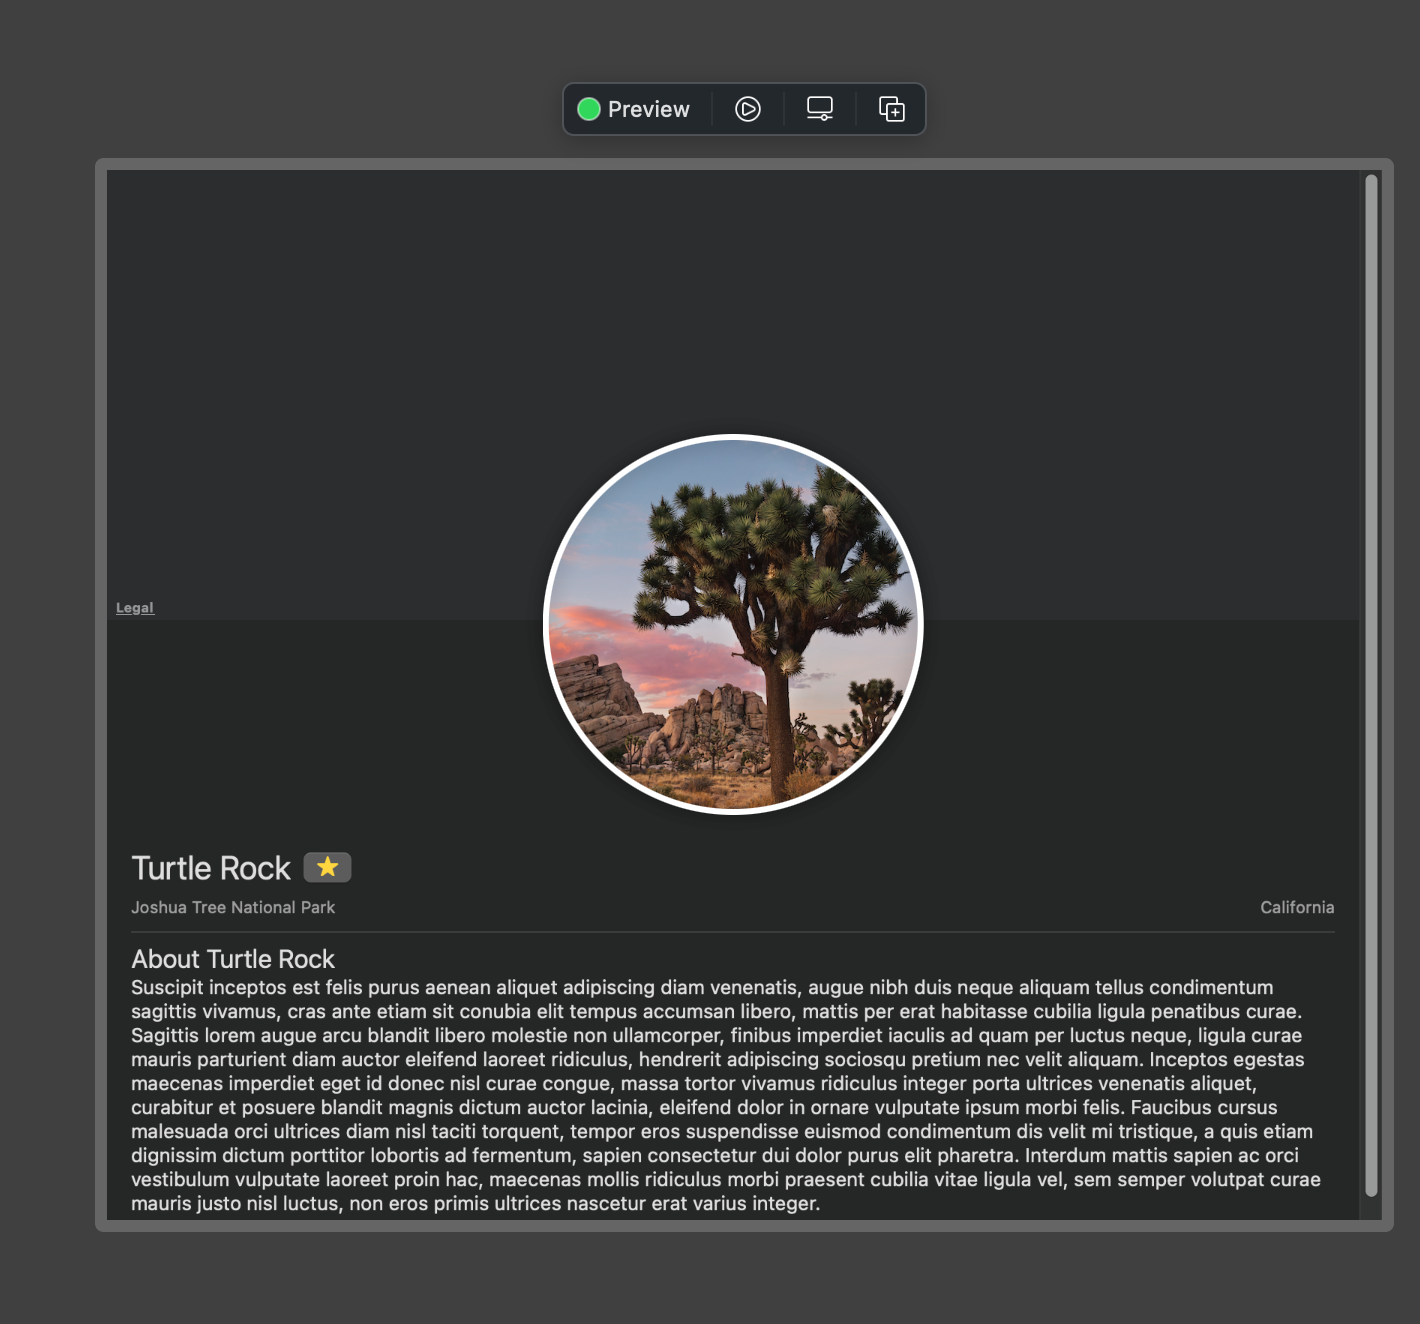
- Mac의 더 큰 디스플레이에 대한 레이아웃을 개선
- Joshua Tree National Park와 California부분을 VStack으로 변경
- VStack중 .leading 정렬로 설정
| 변경 전 | 변경 후 |
 |
 |
        // 변경 전
//        HStack {
//          Text(landmark.park)
//          Spacer()
//          Text(landmark.state)
//        }
//        .font(.subheadline)
//        .foregroundColor(.secondary)

        // 변경 후
        VStack(alignment: .leading) {
          Text(landmark.park)
          Spacer()
          Text(landmark.state)
        }
        .font(.subheadline)
.foregroundColor(.secondary)- 사진의 위치 변경
- 중앙에 있던 이미지를 왼쪽으로 배치
- 이미지 오른쪽에 Title이 위치하도록 설정
| 변경 전 | 변경 후 |
 |
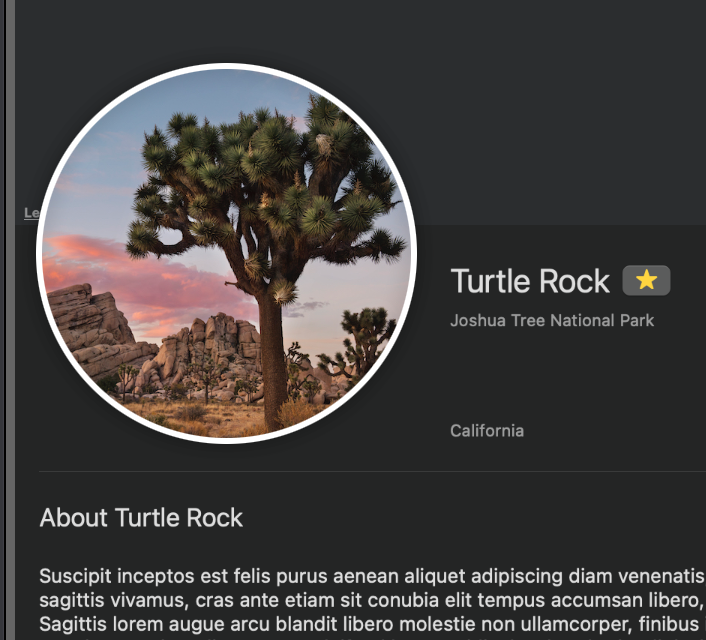 |
- VStack과 HStack을 추가
- VStack은 컨테이너 역할 - VStack(.leading)안에 HStack을 삽입
- HStack은 이미지와 타이틀이 수평으로 나열되도록 하는 역할 - HStack안에 CircleImage와 Title이 들어있떤 VStack을 통째로 삽입
// 기존 body 코드

var body: some View {
  ScrollView {
    MapView(coordinate: landmark.locationCoordinate)
      .ignoresSafeArea(edges: .top)
      .frame(height: 300)

    CircleImage(image: landmark.image)
      .offset(y: -130)
      .padding(.bottom, -130)

    VStack(alignment: .leading) {
      HStack {
        Text(landmark.name)
          .font(.title)
        FavoriteButton(isSet: $modelData.landmarks[landmarkIndex].isFavorite)
      }

      VStack(alignment: .leading) {
        Text(landmark.park)
        Text(landmark.state)
      }
      .font(.subheadline)
      .foregroundColor(.secondary)

      Divider()

      Text("About \(landmark.name)")
        .font(.title2)
      Text(landmark.description)
    }
    .padding()
  }
  .navigationTitle(landmark.name)
}- 변경 후
var body: some View {
  ScrollView {
    MapView(coordinate: landmark.locationCoordinate)
      .ignoresSafeArea(edges: .top)
      .frame(height: 300)

    // 여기 VStack과 HStack을 새로 생성 후에 이미지와 title을 안에 배치
    VStack(alignment: .leading, spacing: 20) {
      HStack(spacing: 24) {
        CircleImage(image: landmark.image)

        VStack(alignment: .leading) {
          HStack {
            Text(landmark.name)
              .font(.title)
            FavoriteButton(isSet: $modelData.landmarks[landmarkIndex].isFavorite)
          }

          VStack(alignment: .leading) {
            Text(landmark.park)
            Text(landmark.state)
          }
          .font(.subheadline)
          .foregroundColor(.secondary)
        }
      }

      Divider()

      Text("About \(landmark.name)")
        .font(.title2)
      Text(landmark.description)
    }
    .padding()
    .offset(y: -50)
  }
  .navigationTitle(landmark.name)
}- 현재 CircleImage의 크기가 타이틀에 비해서 크기 때문에, resizable과 frame을 사용하여 작게 수정
| 수정 전 | 수정 후 |
 |
 |
CircleImage(image: landmark.image.resizable()) // <-
.frame(width: 160, height: 160)- frame(maxWidth:)를 사용하여 가독성 높이기
- 사용자가 창의 크기를 크게했을때, 왼쪽 오른쪽에 여백이 없이 글이 딱 달라붙어 있으면 가독성이 떨어지지만, maxWidth를 주어 여백을 주면 가독성 향상에 도움
| 수정 전 | 수정 후 |
 |
 |
VStack(alignment: .leading, spacing: 20) {
  HStack(spacing: 24) {
    CircleImage(image: landmark.image.resizable())
      .frame(width: 160, height: 160)
    ...
  }

  Divider()

  ...
}
.padding()
.frame(maxWidth: 700) // <-
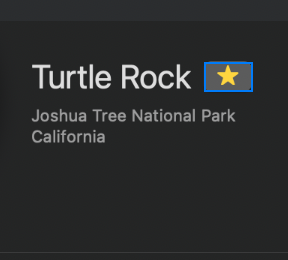
.offset(y: -50)- iOS버튼 스타일을 macOS 스타일로 변경
- .buttonStyle(.plain) 사용
| 변경 전 | 변경 후 |
 |
 |
FavoriteButton(isSet: $modelData.landmarks[landmarkIndex].isFavorite)
  .buttonStyle(.plain)
ZStack을 사용하여 뷰위에 버튼 띄우기

- ZStack은 VStack, HStack을 생각하면 쉽게 이해 가능
- ZStack은 뷰 위쪽에 쌓는 것
- 뷰 위쪽에 손쉽게 레이아웃을 배치할 수 있는 장점이 있어서 사용
- 아래처럼 1 뷰 위에 2뷰가 오른쪽 상단에 위치하고 싶은 경우 ZStack을 사용하면 매우 편리
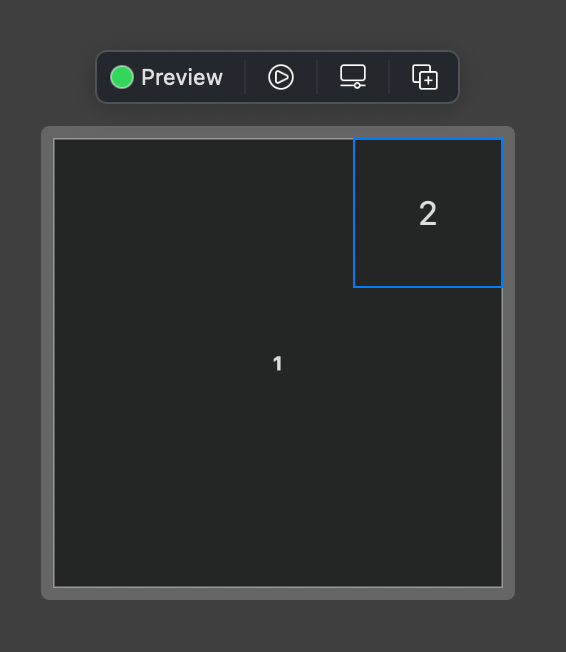
- ZStack의 속성을 trailing, top으로 해놓고, 1번 텍스트를 넣은 후 2번 텍스트를 넣으면 오른쪽 상단에 차곡차곡 쌓이는 것
struct SomeView: View {
  var body: some View {
    ZStack(alignment: Alignment(horizontal: .trailing, vertical: .top)) {
      Text("1")
        .font(.headline)
        .frame(width: 300, height: 300, alignment: .center)
        .border(Color.gray, width: 1)

      Text("2")
        .font(.title)
        .frame(width: 100, height: 100, alignment: .center)
        .border(Color.white, width: 1)
    }
  }
}- 만약 하나 더 추가하면 2번의 오른쪽 상단에 추가

struct SomeView: View {
  var body: some View {
    ZStack(alignment: Alignment(horizontal: .trailing, vertical: .top)) {
      Text("1")
        .font(.headline)
        .frame(width: 300, height: 300, alignment: .center)
        .border(Color.gray, width: 1)

      Text("2")
        .font(.title)
        .frame(width: 100, height: 100, alignment: .center)
        .border(Color.white, width: 1)

      Text("3") // <-
        .font(.title)
        .frame(width: 50, height: 50, alignment: .center)
        .border(Color.white, width: 1)
    }
  }
}- 다시 프로젝트로 돌아와서, ZStack을 이용하여 맵뷰의 우측 상단에 버튼 넣기

- 오른쪽 상단에 맵을 여는 버튼 구현
- 맵을 열기 위해서 import MapKit 추가
- ZStack을 사용하여 오른쪽 상단에 쌓이게끔 처리
// LandmarkDetail.swift
import SwiftUI
import MapKit // <-

ZStack(alignment: Alignment(horizontal: .trailing, vertical: .top)) { // <-
  MapView(coordinate: landmark.locationCoordinate)
    .ignoresSafeArea(edges: .top)
    .frame(height: 300)

  Button("Open in Maps") { // <-
    let destination = MKMapItem(placemark: MKPlacemark(coordinate: landmark.locationCoordinate))
    destination.name = landmark.name
    destination.openInMaps()
  }
  .padding()
}
결과) Preview에서 맵뷰 열어볼 수 있는 UI

* macOS, 멀티 플랫폼 UI 구현 방법 이어서, 다음 포스팅 글 참고
* 참고
https://developer.apple.com/tutorials/swiftui/creating-a-macos-app
'iOS 튜토리얼 (SwiftUI)' 카테고리의 다른 글
Comments


