Notice
Recent Posts
Recent Comments
Link
| 일 | 월 | 화 | 수 | 목 | 금 | 토 |
|---|---|---|---|---|---|---|
| 1 | 2 | 3 | 4 | 5 | 6 | 7 |
| 8 | 9 | 10 | 11 | 12 | 13 | 14 |
| 15 | 16 | 17 | 18 | 19 | 20 | 21 |
| 22 | 23 | 24 | 25 | 26 | 27 | 28 |
Tags
- Human interface guide
- Clean Code
- uitableview
- combine
- Xcode
- clean architecture
- tableView
- swiftUI
- 클린 코드
- MVVM
- scrollview
- Protocol
- collectionview
- SWIFT
- 리펙토링
- Refactoring
- ios
- 애니메이션
- 스위프트
- rxswift
- RxCocoa
- 리팩토링
- ribs
- map
- UICollectionView
- swift documentation
- HIG
- UITextView
- Observable
- uiscrollview
Archives
- Today
- Total
김종권의 iOS 앱 개발 알아가기
[iOS - swift] RxSwift를 사용하여 가장 단순한 Pagination 처리 방법 (UITableView, UICollectionView, prefetchRow) 본문
iOS 응용 (swift)
[iOS - swift] RxSwift를 사용하여 가장 단순한 Pagination 처리 방법 (UITableView, UICollectionView, prefetchRow)
jake-kim 2022. 5. 21. 23:24
예제에 사용한 프레임워크
# UI
pod 'SnapKit'
pod 'Then'

# Util
pod 'RxSwift'
pod 'RxCocoa'
pod 'Kingfisher'

# Network
pod 'Alamofire'
페이지네이션 아이디어 2가지
- 1번 방법) 스크롤된 위치를 계산하여, 남은 아래 영역이 프레임의 크기보다 작게 남은 경우, 페이지네이션 실행

- 2번 방법) delegate 메소드인 tableView(_:prefetchRowAt:) 를 사용하여 prefetch 사용
func tableView(_ tableView: UITableView, prefetchRowsAt indexPaths: [IndexPath])(2가지 방법에 관한 구체적인 개념은 이전 포스팅 글 참고)
RxCocoa로 페이지네이션 사용 방법
- 페이지네이션 방법이 2가지 있지만, 가장 단순한 방법은 prefetchRows를 사용하면 되므로, RxCocoa의 prefetchRows 사용
//  UITableView+Rx.swift
//  RxCocoa

public var prefetchRows: ControlEvent<[IndexPath]> {
  let source = RxTableViewDataSourcePrefetchingProxy.proxy(for: base).prefetchRowsPublishSubject
  return ControlEvent(events: source)
}
prefetchRows 예제)
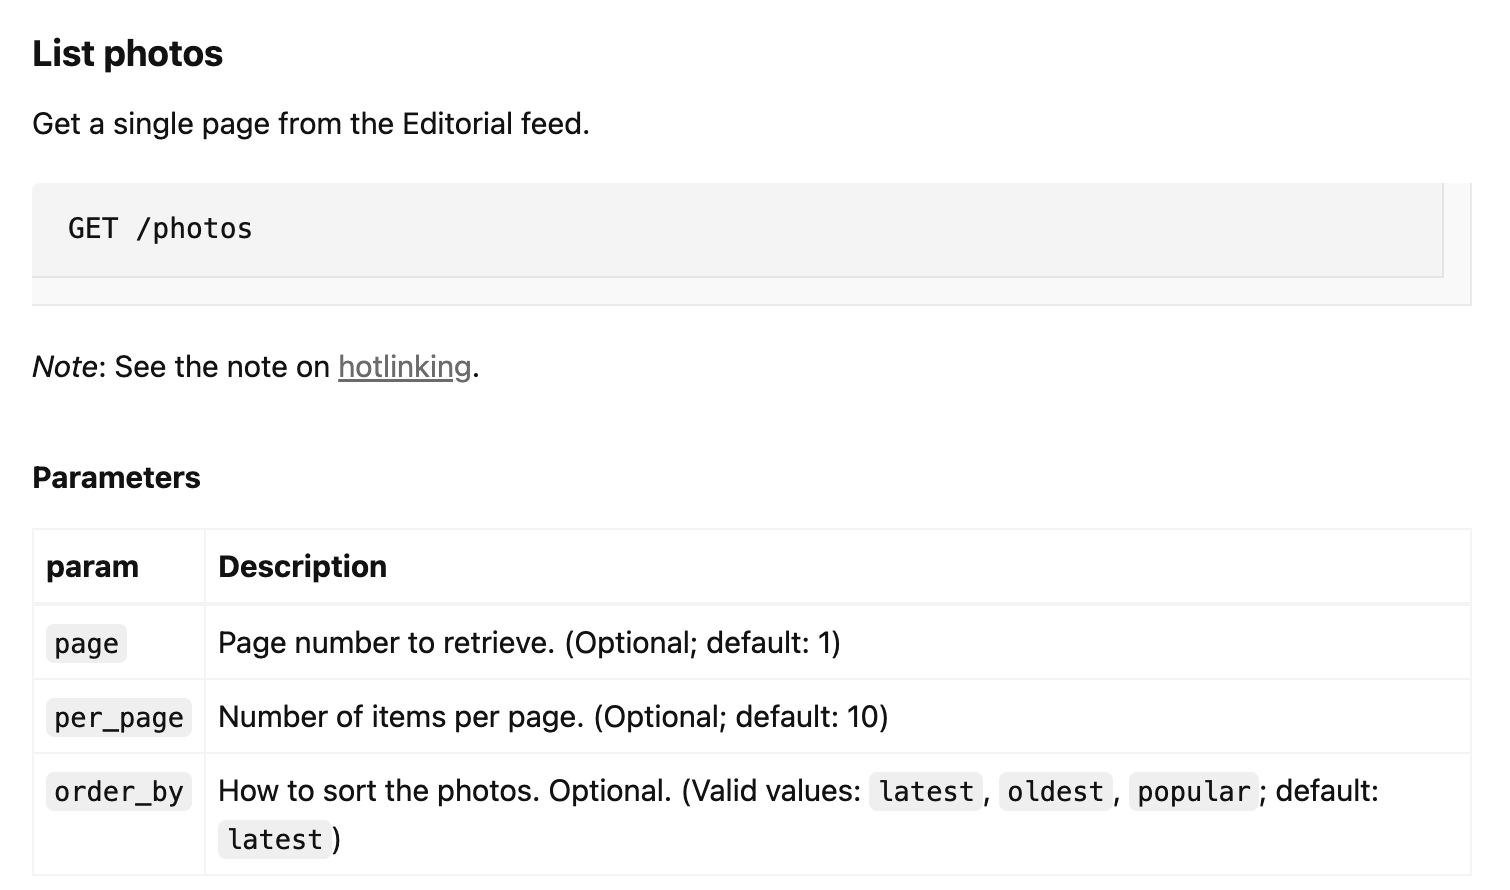
- 페이지네이션에 사용할 API 준비

- Request 모델 준비
//  PhotoRequest.swift

struct PhotoRequest: Codable {
  let page: Int
  let perPage: Int = 10

  enum CodingKeys: String, CodingKey {
    case page
    case perPage = "per_page"
  }
}- Response 모델 준비
//  Photo.swift

struct Photo: Codable {
  struct Urls: Codable {
    let raw, full, regular, small: String
    let thumb: String
  }

  let id: String
  let width, height: Int
  let urls: Urls
}

extension Photo: Equatable {
  var urlString: String { self.urls.regular }
  static func == (lhs: Photo, rhs: Photo) -> Bool {
    lhs.id == rhs.id
  }
}- UITableView를 가지고 있는 VC 정의
// ViewController.swift

import UIKit
import SnapKit
import RxSwift
import RxCocoa
import Alamofire

class ViewController: UIViewController {
  // MARK: UI
  private let tableView = UITableView(frame: .zero).then {
    $0.allowsSelection = false
    $0.backgroundColor = UIColor.clear
    $0.separatorStyle = .none
    $0.bounces = true
    $0.showsVerticalScrollIndicator = true
    $0.contentInset = .zero
    // static let tableViewEstimatedRowHeight = 34.0
    $0.register(MyCell.self, forCellReuseIdentifier: MyCell.Constant.id)
    $0.rowHeight = UITableView.automaticDimension
  }
}- State 준비
- dataSource
- 페이지 네이션에 사용할 currentPage 상태
// MARK: State
private var dataSource = [Photo]()
private var currentPage = -1
private var disposeBag = DisposeBag()- viewDidLoad에서 레이아웃 정의, dataSource 할당
    self.view.addSubview(self.tableView)
    self.tableView.snp.makeConstraints {
      $0.edges.equalToSuperview()
    }

    self.tableView.dataSource = self

...

extension ViewController: UITableViewDataSource {
  func tableView(_ tableView: UITableView, numberOfRowsInSection section: Int) -> Int {
    self.dataSource.count
  }
  func tableView(_ tableView: UITableView, cellForRowAt indexPath: IndexPath) -> UITableViewCell {
    (tableView.dequeueReusableCell(withIdentifier: MyCell.Constant.id, for: indexPath) as! MyCell).then {
      $0.prepare(imageURL: self.dataSource[indexPath.row].urlString)
    }
  }
}- viewDidLoad에서 첫 번째 데이터를 API를 호출하기 위해서 메소드 정의
- 데이터를 얻어올때는 reloadData()를 호출하고, tableView에 변경된 레이아웃을 적용하기 위해서 performBatchUpdates(_:completion:)를 0.5초 있다가 호출
  // MARK: Method
  private func getPhotos() {
    self.currentPage += 1
    let url = "https://api.unsplash.com/photos/"
    let photoRequest = PhotoRequest(page: self.currentPage)
    let headers: HTTPHeaders = ["Authorization" : "Client-ID Your Key"]

    AF.request(
      url,
      method: .get,
      parameters: photoRequest.toDictionary(),
      headers: headers
    ).responseDecodable(of: [Photo].self) { [weak self] response in
      switch response.result {
      case let .success(photos):
        self?.dataSource.append(contentsOf: photos)
        self?.tableView.reloadData()
        DispatchQueue.main.asyncAfter(deadline: .now() + 0.5) {
          self?.tableView.performBatchUpdates(nil, completion: nil)
        }
      case let .failure(error):
        print(error)
      }
    }
}- viewDidLoad에서 위 api 호출
self.getPhotos()- viewDidLoad에서 페이지네이션 코드 추가
- tableView.rx.prefetchRows로 구독
- IndexPath 배열이 내려오고, 오름차순으로 내려오므로 가장 마지막 인덱스 값을 얻어와서 그 인덱스 값이 현재 데이터 소스의 마지막 인덱스일때 api를 호출하도록 구현
// pagination
self.tableView.rx.prefetchRows // IndexPath값들이 방출
  .compactMap(\.last?.row)
  .withUnretained(self)
  .bind { ss, row in
    guard row == ss.dataSource.count - 1 else { return }
    ss.getPhotos()
  }
  .disposed(by: self.disposeBag)
cf) 테이블 뷰에 새로운 데이터가 추가되고, 그 데이터의 크기는 내부 크기에 의해서 셀 height가 동적으로 변경되어야할 때 performBatchUpdates(_:completion:)를 호출해야하는데, 이때 애니메이션이 존재

- 애니메이션 없이 적용하고 싶은 경우, UIView.performWithoutAnimation 클로저에서 performBatchUpdates(_:completion:) 호출
// 애니메이션 없이
DispatchQueue.main.asyncAfter(deadline: .now() + 0.5) {
  UIView.performWithoutAnimation { // <- 추가
    self?.tableView.performBatchUpdates(nil, completion: nil)
  }
}
* 전체 코드: https://github.com/JK0369/ExPaginationPrefetch
* 참고
https://developer.apple.com/documentation/uikit/uitableviewdatasourceprefetching/1771764-tableview
https://developer.apple.com/documentation/uikit/uitableviewdatasourceprefetching
'iOS 응용 (swift)' 카테고리의 다른 글
Comments


